
Your First Feature
Let’s dive into implementing a new feature for our social network app. This will give us a better idea how to develop DAML applications using our template.
At the moment, our app lets us follow users in the network, but we have no way to communicate with them! Let’s fix that by adding a direct messaging feature. This should let users that follow each other send messages, respecting authorization and privacy. This means:
- You cannot send a message to someone unless they have given you the authority by following you back.
- You cannot see a message unless you sent it or it was sent to you.
We will see that DAML lets us implement these guarantees in a direct and intuitive way.
There are three parts to building and running the messaging feature:
- Adding the necessary changes to the DAML model
- Making the corresponding changes in the UI
- Running the app with the new feature.
As usual, we must start with the DAML model and base our UI changes on top of that.
DAML Changes
As mentioned in the architecture section, the DAML code defines the data and workflow of the application. The workflow aspect refers to the interactions between parties that are permitted by the system. In the context of a messaging feature, these are essentially the authorization and privacy concerns listed above.
For the authorization part, we take the following approach: a user Bob can message another user Alice when Alice starts following Bob back. When Alice starts following Bob back, she gives permission or authority to Bob to send her a message.
To implement this workflow, let’s start by adding the new data for messages.
Navigate to the daml/User.daml file and copy the following Message template to the bottom.
Indentation is important: it should be at the top level like the original User template.
template Message with
    sender: Party
    receiver: Party
    content: Text
  where
    signatory sender, receiver
This template is very simple: it contains the data for a message and no choices.
The interesting part is the signatory clause: both the sender and receiver are signatories on the template.
This enforces the fact that creation and archival of Message contracts must be authorized by both parties.
Now we can add messaging into the workflow by adding a new choice to the User template.
Copy the following choice to the User template after the Follow choice. The indentation for the SendMessage choice must match the one of Follow . Make sure you save the file after copying the code.
    nonconsuming choice SendMessage: ContractId Message with
        sender: Party
        content: Text
      controller sender
      do
        assertMsg "Designated user must follow you back to send a message" (elem sender following)
        create Message with sender, receiver = username, content
As with the Follow choice, there are a few aspects to note here.
- By convention, the choice returns the
ContractIdof the resultingMessagecontract.- The parameters to the choice are the
senderandcontentof this message; the receiver is the party named on thisUsercontract.- The
controllerclause states that it is thesenderwho can exercise the choice.- The body of the choice first ensures that the sender is a user that the receiver is following and then creates the
Messagecontract with thereceiverbeing the signatory of theUsercontract.
This completes the workflow for messaging in our app.
Running the New Feature
Navigate to the terminal window where the daml start process is running and press ‘r’. This will
- Compile our DAML code into a DAR file containing the new feature
- Update the JavaScript library under
ui/daml.jsto connect the UI with your DAML code- Upload the new DAR file to the sandbox
As mentioned at the beginning of this Getting Started with DAML guide, DAML Sandbox uses an in-memory store, which means it loses its state when stopped or restarted. That means that all user data and follower relationships are lost.
Now let’s integrate the new functionality into the UI.
Messaging UI
The UI for messaging will consist of a new Messages panel in addition to the Follow and Network panel. This panel will have two parts:
- A list of messages you’ve received with their senders.
- A form with a dropdown menu for follower selection and a text field for composing the message.
We will implement each part as a React component, which we’ll name MessageList and MessageEdit respectively.
Let’s start with the simpler MessageList.
MessageList Component
The goal of the MessageList component is to query all Message contracts where the receiver is the current user, and display their contents and senders in a list.
The entire component is shown below.
You should copy this into a new MessageList.tsx file in ui/src/components and save it.
import React from 'react'
import { List, ListItem } from 'semantic-ui-react';
import { User } from '@daml.js/create-daml-app';
import { useStreamQueries } from '@daml/react';
/**
* React component displaying the list of messages for the current user.
*/
const MessageList: React.FC = () => {
const messagesResult = useStreamQueries(User.Message);
return (
<List relaxed>
{messagesResult.contracts.map(message => {
const {sender, receiver, content} = message.payload;
return (
<ListItem
className='test-select-message-item'
key={message.contractId}>
<strong>{sender} → {receiver}:</strong> {content}
</ListItem>
);
})}
</List>
);
};
export default MessageList;
In the component body, messagesResult gets the stream of all Message contracts visible to the current user.
The streaming aspect means that we don’t need to reload the page when new messages come in.
For each contract in the stream, we destructure the payload (the data as opposed to metadata like the contract ID) into the {sender, receiver, content} object pattern.
Then we construct a ListItem UI element with the details of the message.
There is one important point about privacy here.
No matter how we write our Message query in the UI code, it is impossible to break the privacy rules given by the DAML model.
That is, it is impossible to see a Message contract of which you are not the sender or the receiver (the only parties that can observe the contract).
This is a major benefit of writing apps on DAML: the burden of ensuring privacy and authorization is confined to the DAML model.
MessageEdit Component
Next we need the MessageEdit component to compose and send messages to our followers.
Again we show the entire component here; you should copy this into a new MessageEdit.tsx file in ui/src/components and save it.
import React from 'react'
import { Form, Button } from 'semantic-ui-react';
import { Party } from '@daml/types';
import { User } from '@daml.js/create-daml-app';
import { useParty, useLedger } from '@daml/react';

type Props = {
  followers: Party[];
}

/**
 * React component to edit a message to send to a follower.
 */
const MessageEdit: React.FC<Props> = ({followers}) => {
  const sender = useParty();
  const [receiver, setReceiver] = React.useState<string | undefined>();
  const [content, setContent] = React.useState("");
  const [isSubmitting, setIsSubmitting] = React.useState(false);
  const ledger = useLedger();

  const submitMessage = async (event: React.FormEvent) => {
    try {
      event.preventDefault();
      if (receiver === undefined) {
        return;
      }
      setIsSubmitting(true);
      await ledger.exerciseByKey(User.User.SendMessage, receiver, {sender, content});
      setContent("");
    } catch (error) {
      alert(`Error sending message:\n${JSON.stringify(error)}`);
    } finally {
      setIsSubmitting(false);
    }
  };

  return (
    <Form onSubmit={submitMessage}>
      <Form.Dropdown
        selection
        className='test-select-message-receiver'
        placeholder="Select a follower"
        options={followers.map(follower => ({ key: follower, text: follower, value: follower }))}
        value={receiver}
        onChange={event => setReceiver(event.currentTarget.textContent ?? undefined)}
      />
      <Form.Input
        className='test-select-message-content'
        placeholder="Write a message"
        value={content}
        onChange={event => setContent(event.currentTarget.value)}
      />
      <Button
        fluid
        className='test-select-message-send-button'
        type="submit"
        disabled={isSubmitting || receiver === undefined || content === ""}
        loading={isSubmitting}
        content="Send"
      />
    </Form>
  );
};

export default MessageEdit;
You will first notice a Props type near the top of the file with a single followers field.
A prop in React is an input to a component; in this case a list of users from which to select the message receiver.
The prop will be passed down from the MainView component, reusing the work required to query users from the ledger.
You can see this followers field bound at the start of the MessageEdit component.
We use the React useState hook to get and set the current choices of message receiver and content.
The DAML-specific useLedger hook gives us an object we can use to perform ledger operations.
The call to ledger.exerciseByKey in submitMessage looks up the User contract with the receiver’s username and exercises the SendMessage choice with the appropriate arguments.
If the choice fails, the catch block reports the error in a dialog box.
Additionally, submitMessage sets the isSubmitting state so that the Send button is disabled while the request is processed.
The result of a successful call to submitMessage is a new Message contract created on the ledger.
The return value of this component is the React Form element.
This contains a dropdown menu to select a receiver from the followers, a text field for the message content, and a Send button which triggers submitMessage.
There is again an important point here, in this case about how authorization is enforced.
Due to the logic of the SendMessage choice, it is impossible to send a message to a user who is not following us (even if you could somehow access their User contract).
The assertion that elem sender following in SendMessage ensures this: no mistake or malice by the UI programmer could breach this.
MainView Component
Finally we can see these components come together in the MainView component.
We want to add a new panel to house our messaging UI.
Open the ui/src/components/MainView.tsx file and start by adding imports for the two new components.
import MessageEdit from './MessageEdit';
import MessageList from './MessageList';
Next, find where the Network Segment closes, towards the end of the component.
This is where we’ll add a new Segment for Messages. Make sure you’ve saved the file after copying the code.
            <Segment>
              <Header as='h2'>
                <Icon name='pencil square' />
                <Header.Content>
                  Messages
                  <Header.Subheader>Send a message to a follower</Header.Subheader>
                </Header.Content>
              </Header>
              <MessageEdit
                followers={followers.map(follower => follower.username)}
              />
              <Divider />
              <MessageList />
            </Segment>
You can see we simply follow the formatting of the previous panels and include the new messaging components: MessageEdit supplied with the usernames of all visible parties as props, and MessageList to display all messages.
That is all for the implementation! Let’s give the new functionality a spin.
Running the updated UI
If you have the frontend UI up and running you’re all set. In case you don’t have the UI running open a new terminal window and navigate to the create-daml-app/ui folder and run the npm start command, which will start the UI.
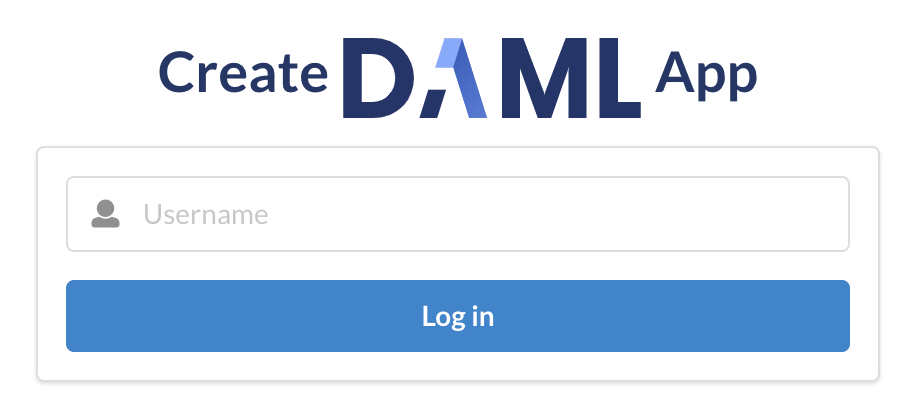
Once you’ve done all these changes you should see the same login page as before at http://localhost:3000.
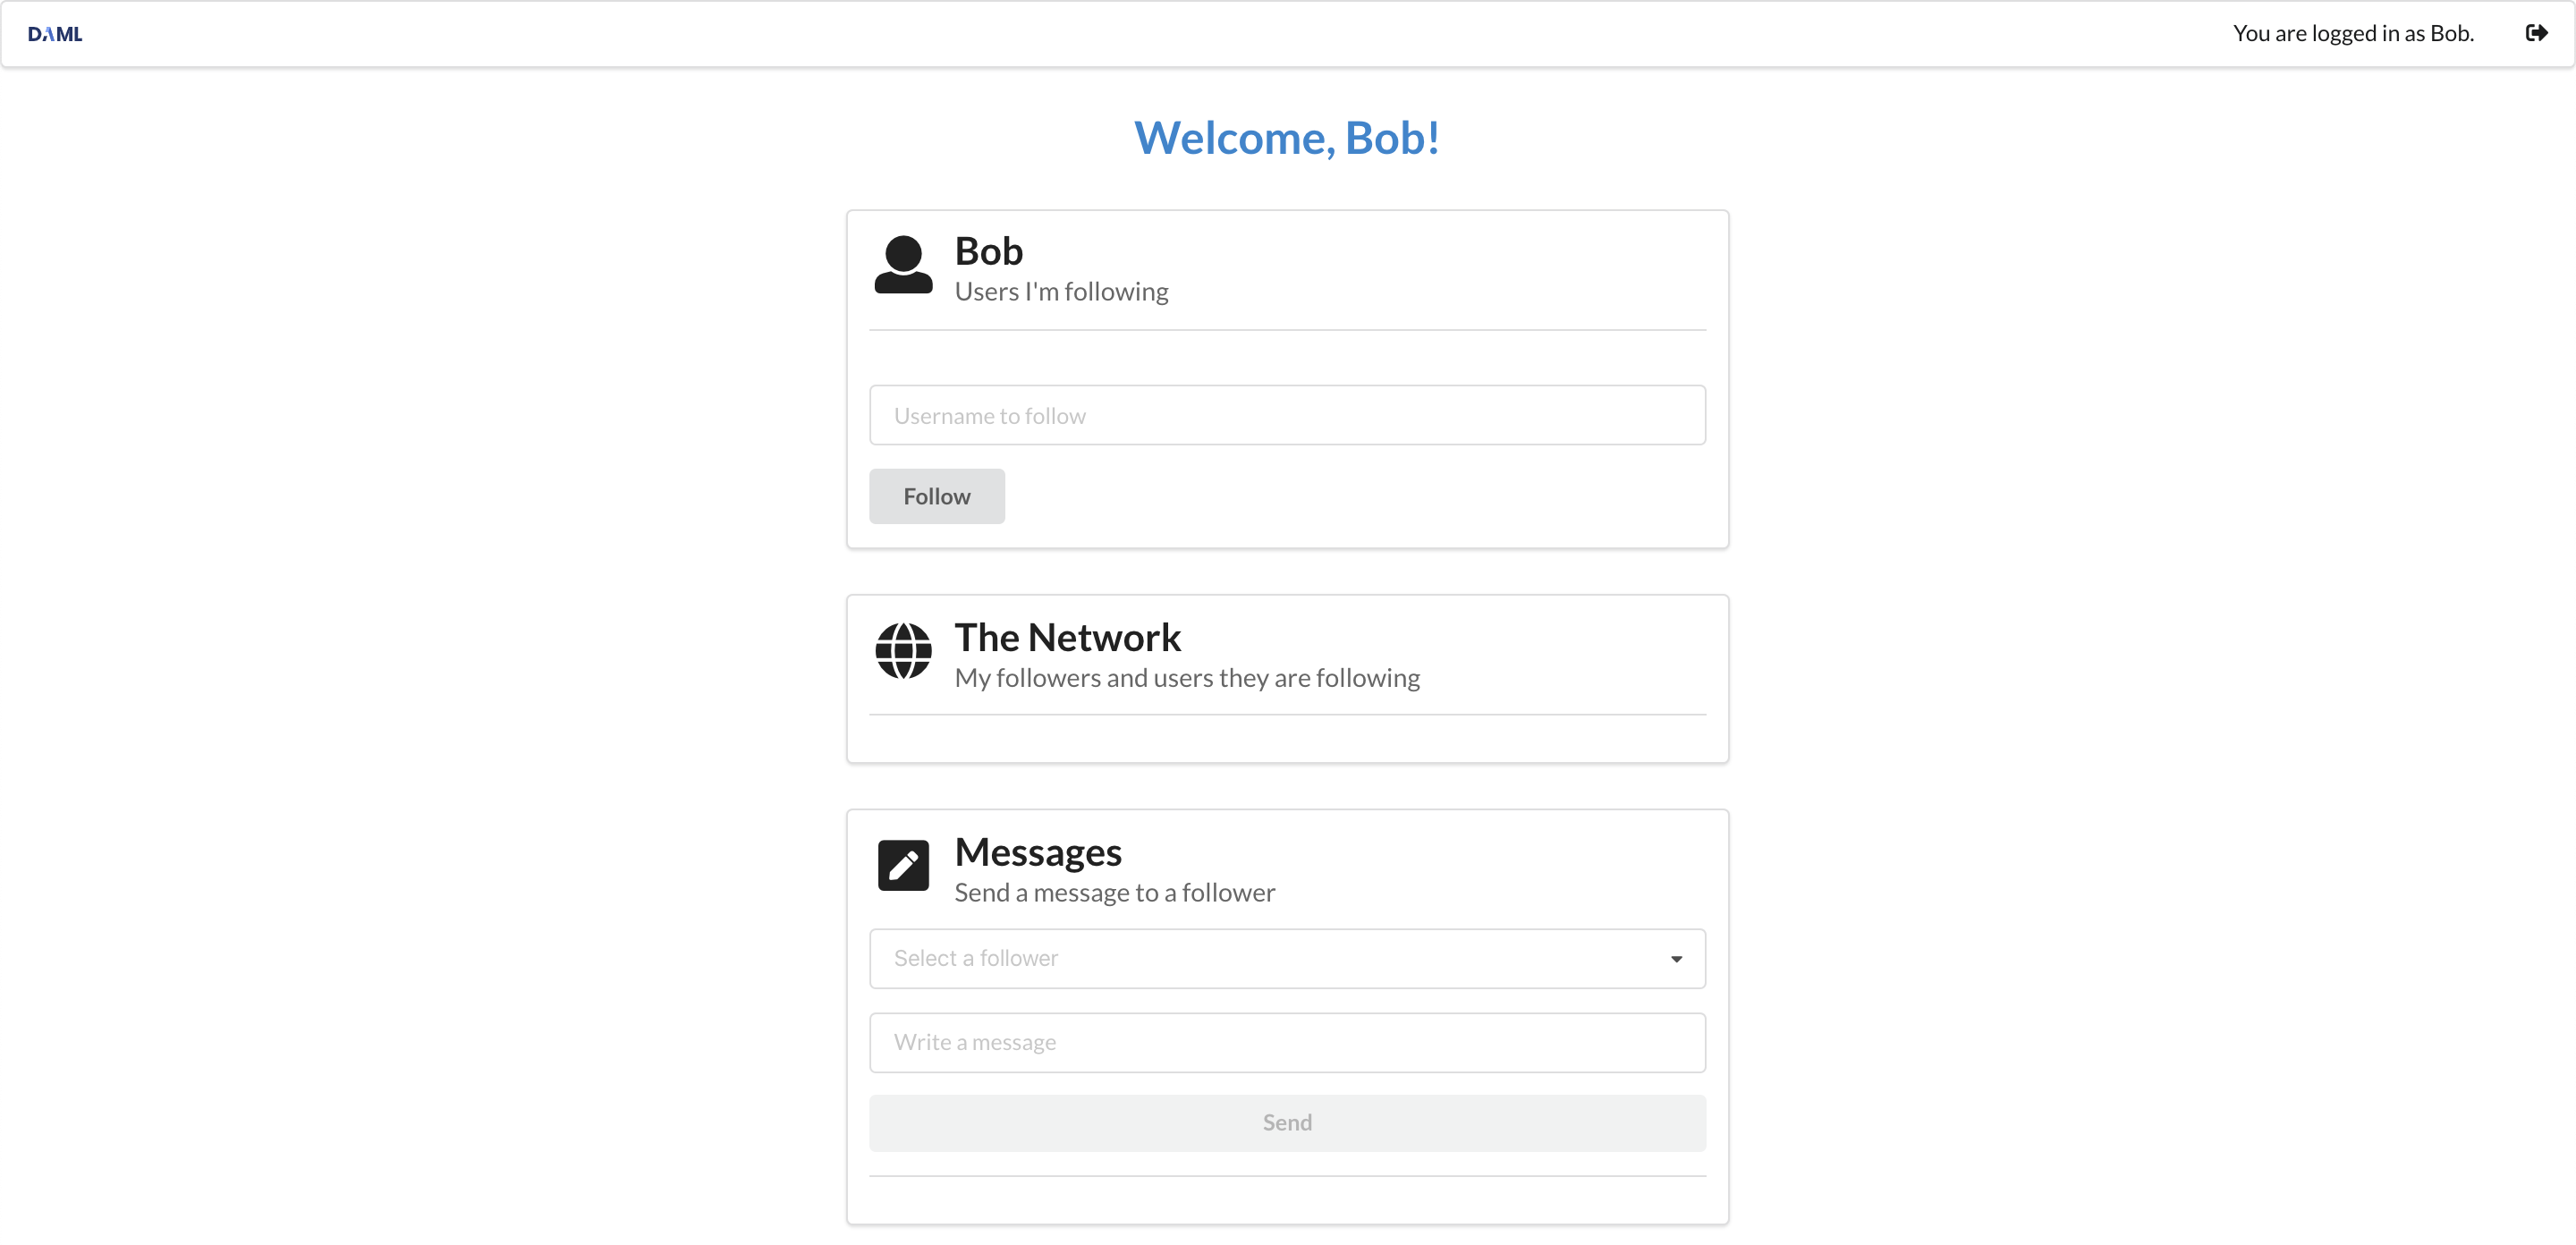
Once you’ve logged in, you’ll see a familiar UI but with our new Messages panel at the bottom!
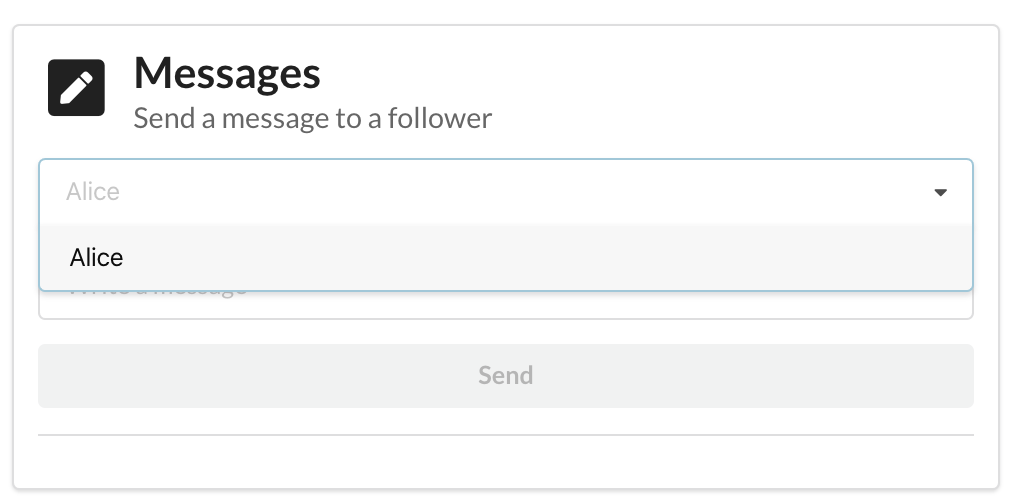
Go ahead and add follow more users, and log in as some of those users in separate browser windows to follow yourself back. Then, if you click on the dropdown menu in the Messages panel, you’ll be able to see some followers to message!
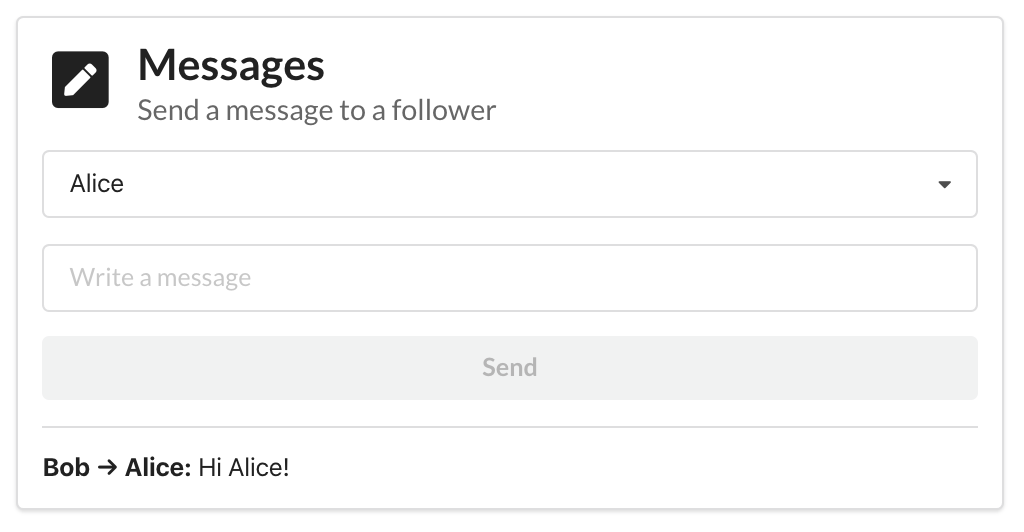
Send some messages between users and make sure you can see each one from the other side. You’ll notice that new messages appear in the UI as soon as they are sent (due to the streaming React hooks).
Tip
You completed the second part of the Getting Started Guide! Join our forum and share a screenshot of your accomplishment to get your second of 3 badges! Get the third badge by deploying to project:DABL
Next Steps
We’ve gone through the process of setting up a full-stack DAML app and implementing a useful feature end to end. As the next step we encourage you to really dig into the fundamentals of DAML and understand its core concepts such as parties, signatories, observers, and controllers. You can do that either by going through our docs or by taking an online course.
After you’ve got a good grip on these concepts learn how to conduct end-to-end testing of your app.