
Getting Started with Daml
The goal of this tutorial is to get you up and running with full-stack Daml development. Through the example of a simple social networking application, you will learn:
- How to build and run the application
- The design of its different components (App Architecture)
- How to write a new feature for the app (Your First Feature)
The goal is that by the end of this tutorial, you’ll have a good idea of the following:
- What Daml contracts and ledgers are
- How a user interface (UI) interacts with a Daml ledger
- How Daml helps you build a real-life application fast.
This is not a comprehensive guide to all Daml concepts and tools or all deployment options; these are covered in-depth in the User Guide. For a quick overview of the most important Daml concepts used in this tutorial you can refer to the Daml cheat-sheet .
With that, let’s get started!
Prerequisites
Make sure that you have the Daml SDK, Java 8 or higher, and Visual Studio Code (the only supported IDE) installed as per the instructions in Installing the SDK.
You will also need some common software tools to build and interact with the template project:
Running the App
To get the app up and running:
1. Open a terminal, select a folder in which to create your first application, and instantiate the template project.
daml new create-daml-app --template create-daml-app
This creates a new folder with contents from our template. To see
a list of all available templates run daml new --list.
Change to the new folder:
cd create-daml-app
Open two terminal windows.
In one terminal, at the root of the
create-daml-appdirectory, run the command:daml start
Any commands starting with daml are using the Daml Assistant, a
command line tool in the SDK for building and running Daml apps.
The command has started successfully when you see the INFO com.daml.http.Main$ - Started server: ServerBinding(/127.0.0.1:7575) message in the terminal. The command does a few things:
- Compiles the Daml code to a DAR (Daml Archive) file
- Generates a JavaScript library in
ui/daml.jsto connect the UI with your Daml code- Starts an instance of the Sandbox, an in-memory ledger useful for development, loaded with our DAR
- Starts a server for the HTTP JSON API, a simple way to run commands against a Daml ledger (in this case the running Sandbox)
We’ll leave these processes running to serve requests from our UI.
In the second terminal, navigate to the
create-daml-app/uifolder and usenpmto install the project dependencies:cd create-daml-app/ui npm install
This step may take a couple of moments.
You should see success Saved lockfile. in the output if everything worked as expected.
Start the UI with:
npm start
This starts the web UI connected to the running Sandbox and JSON API server. The command should automatically open a window in your default browser at http://localhost:3000.
Once the web UI has been compiled and started, you should see Compiled successfully! in your terminal.
If you don’t, open http://localhost:3000 in a web browser.
Depending on your firewall settings, you may be asked whether to allow the app to receive network connections. It is safe to accept.
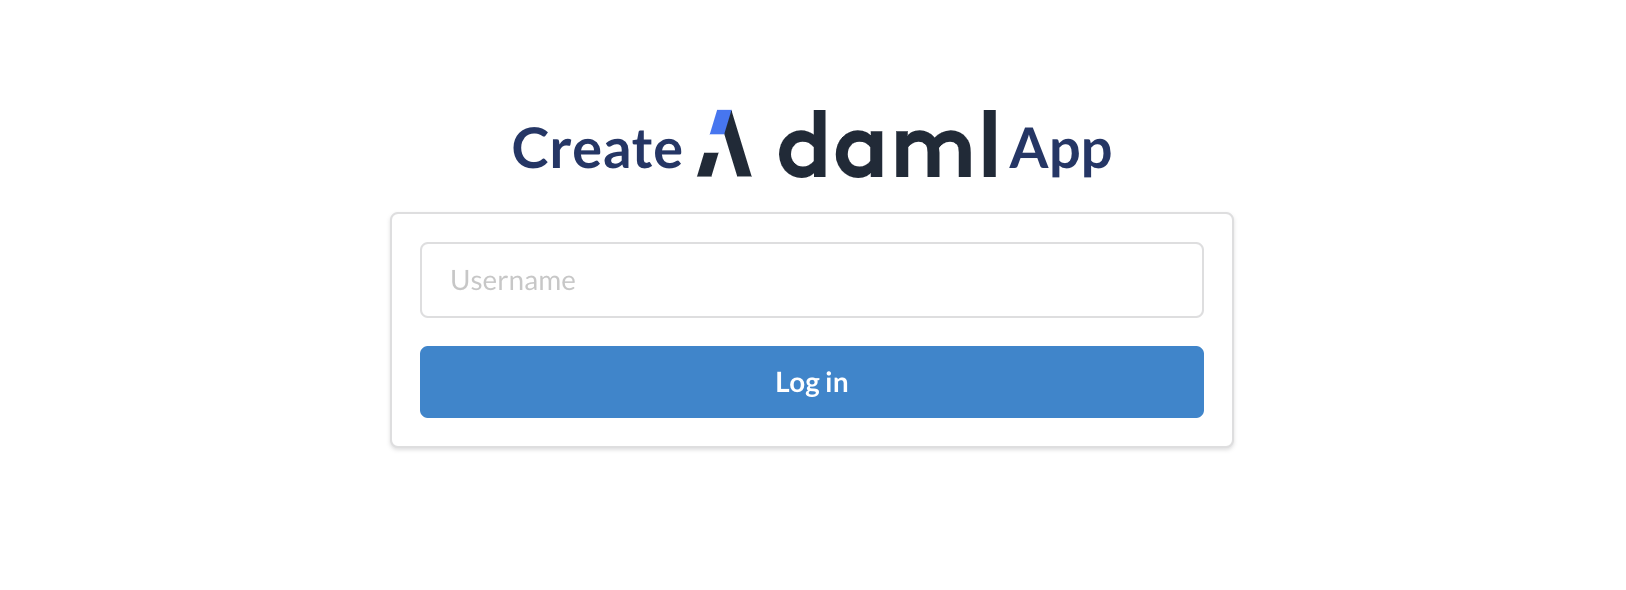
You should now see the login page for the social network. For simplicity, in this app there is no password or sign-up required.
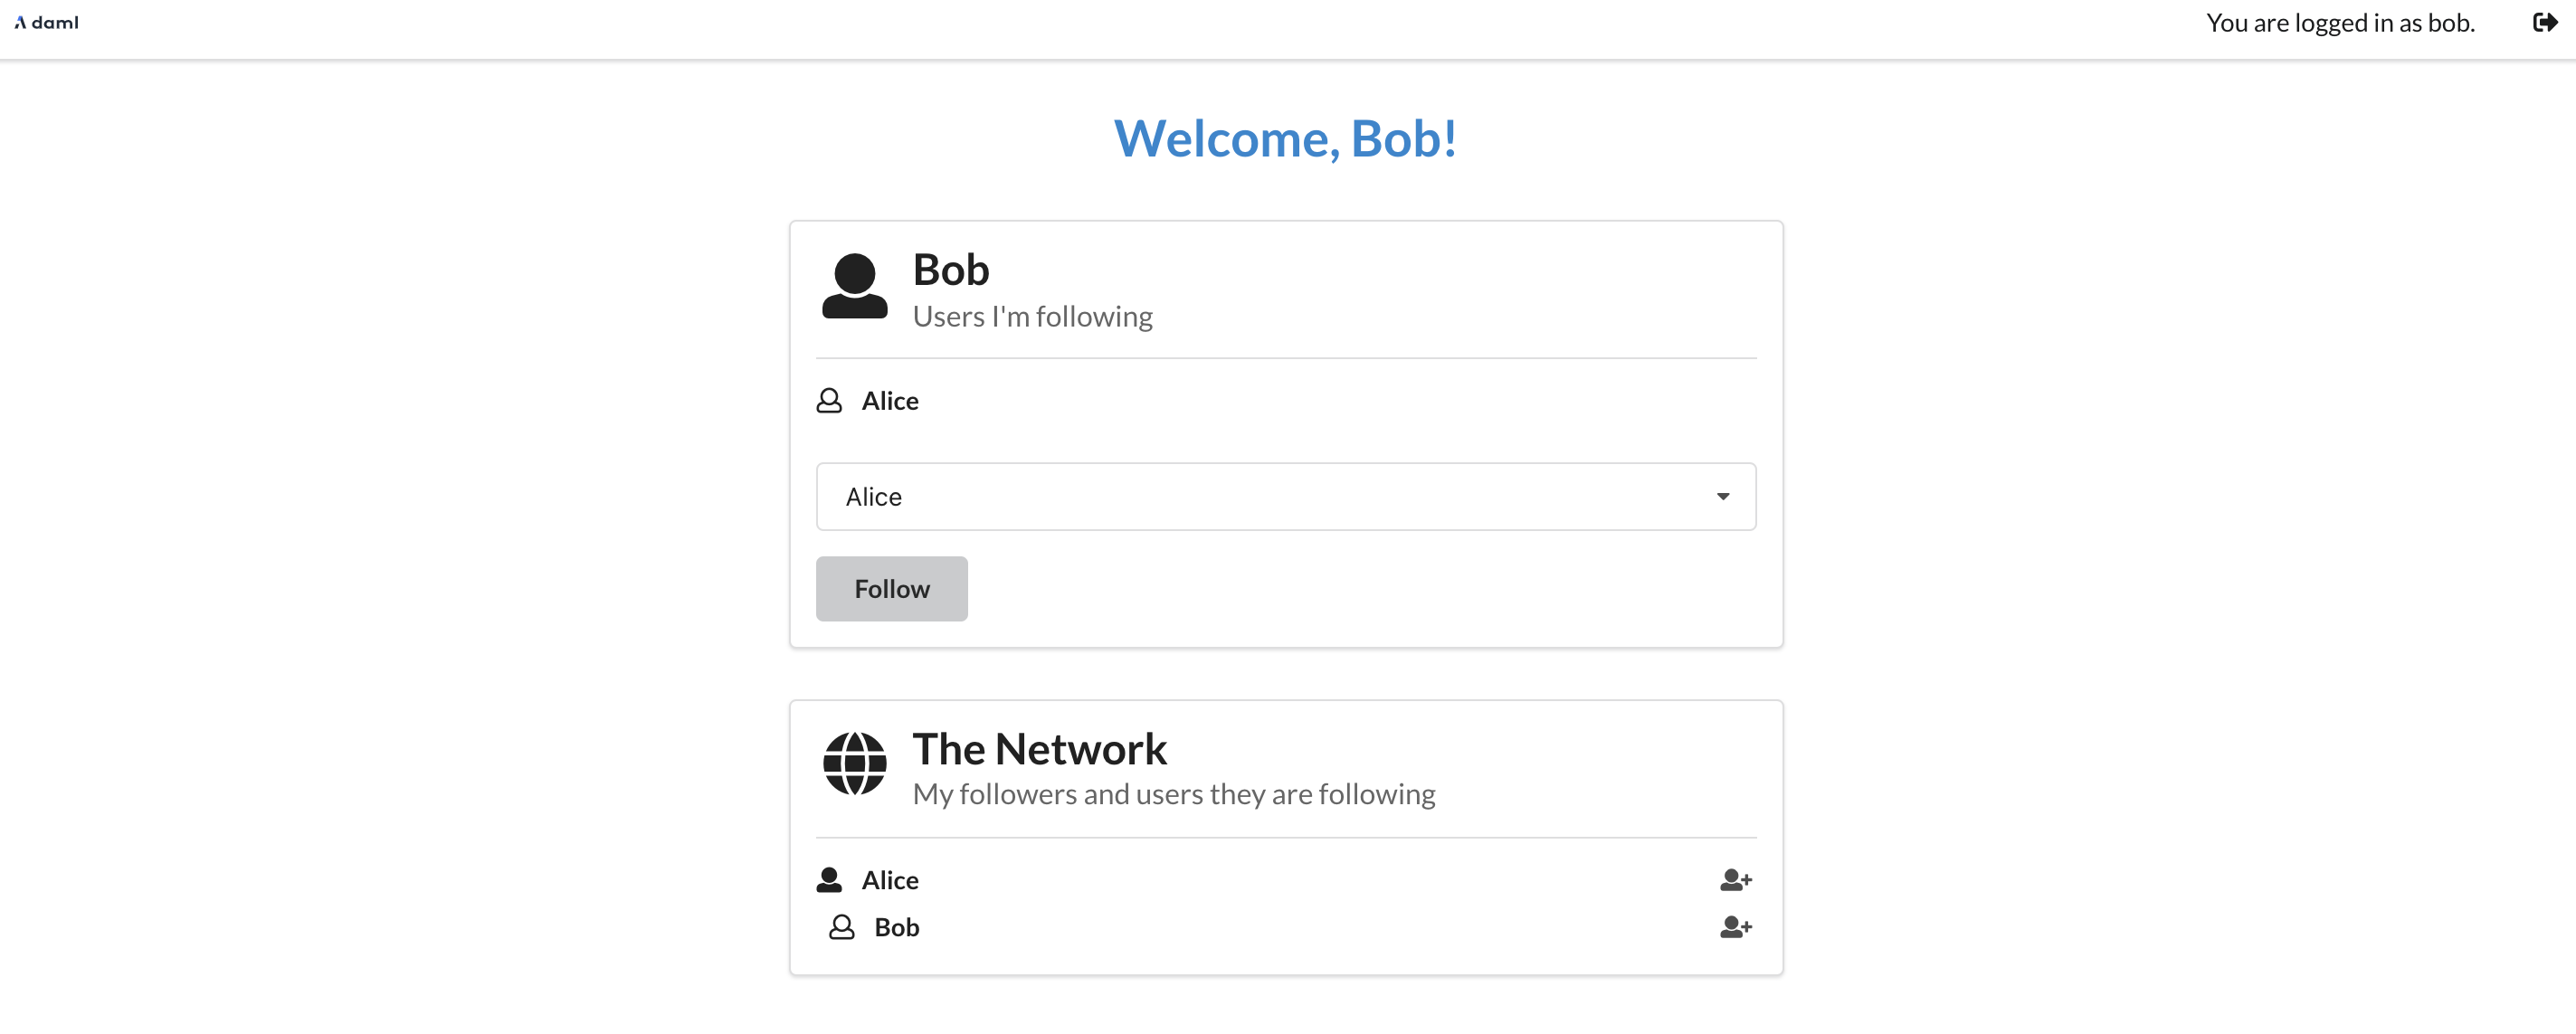
Enter a user name. Valid user names are bob, alice, or charlie (note that these are all lower-case, although they are displayed in the social network UI by their alias instead of their user id, with the usual capitalization).
Click Log in.
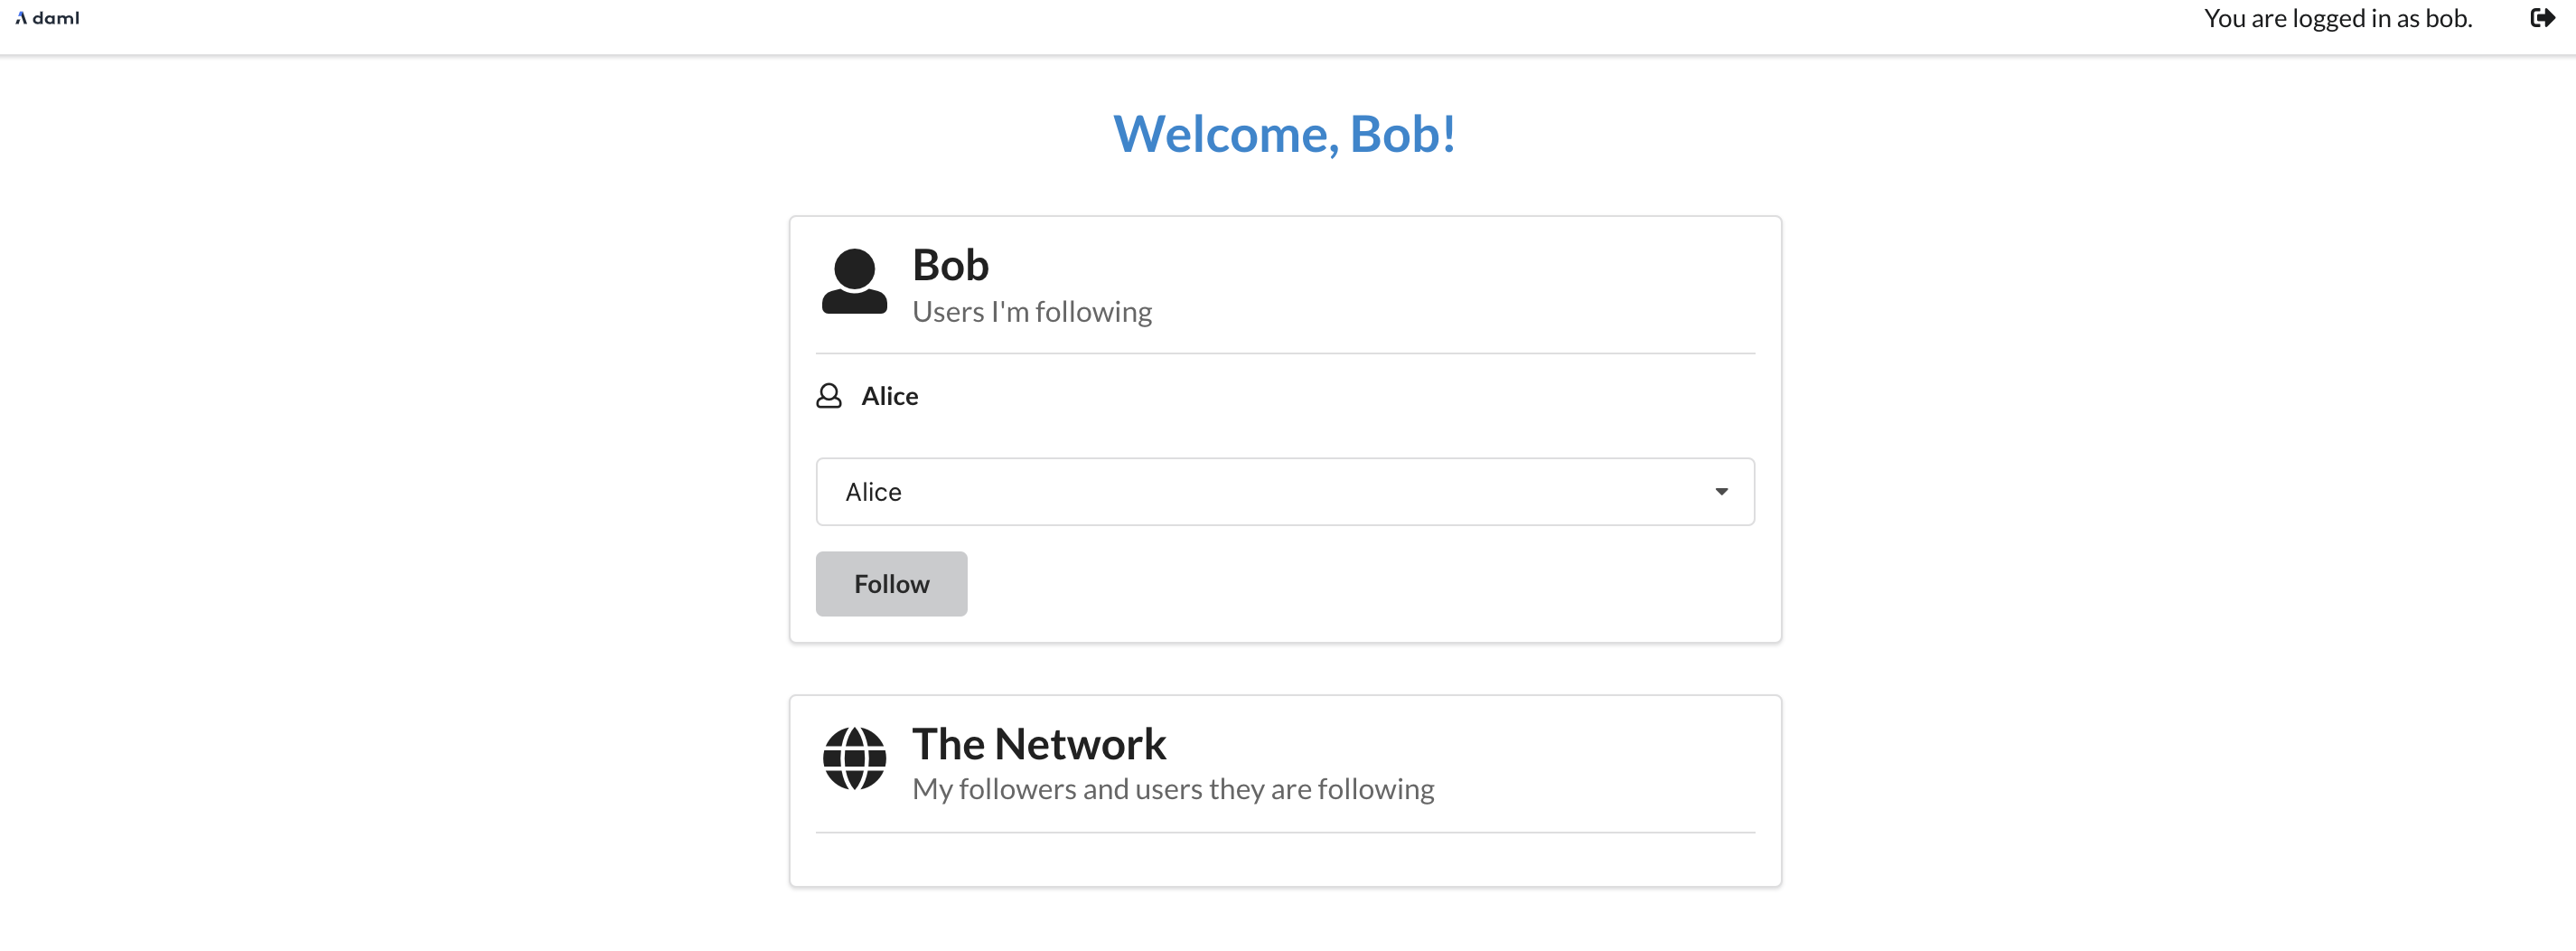
You should see the main screen with two panels. The top panel displays the social network users you are following; the bottom displays the aliases of the users who follow you. Initially these are both empty as you are not following anyone and you don’t have any followers. To start following a user, type their name into the text box or select it from the drop-down list and click the Follow button in the top panel.
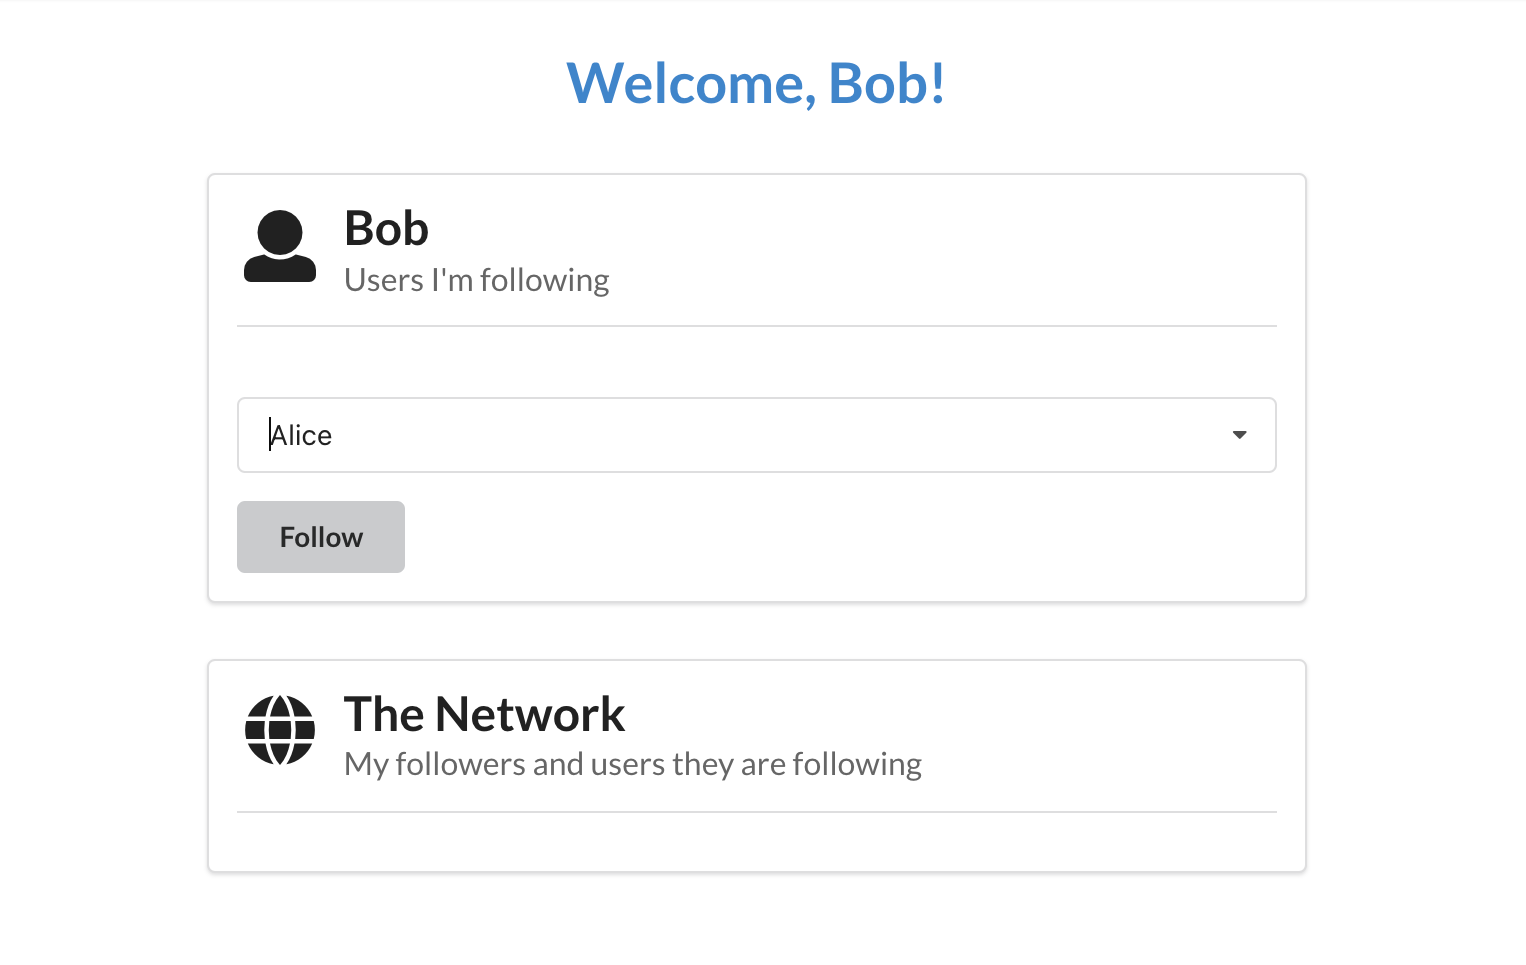
The user you just started following appears in the Following panel. However, they do not yet appear in the Network panel. This is either because they have not signed up and are not parties on the ledger or they have not yet started following you. This social network is similar to Twitter and Instagram, where by following someone, say Alice, you make yourself visible to her but not vice versa. We will see how we encode this in Daml in the next section.
To make this relationship reciprocal, open a new browser window/tab at http://localhost:3000. (Having separate windows/tabs allows you to see both you and the screen of the user you are following at the same time.) Once you log in as the user you are following (Alice in this example), you’ll notice your name in her network. In fact, Alice can see the entire list of users you are following in the Network panel. This is because this list is part of the user data that became visible when you started following her.
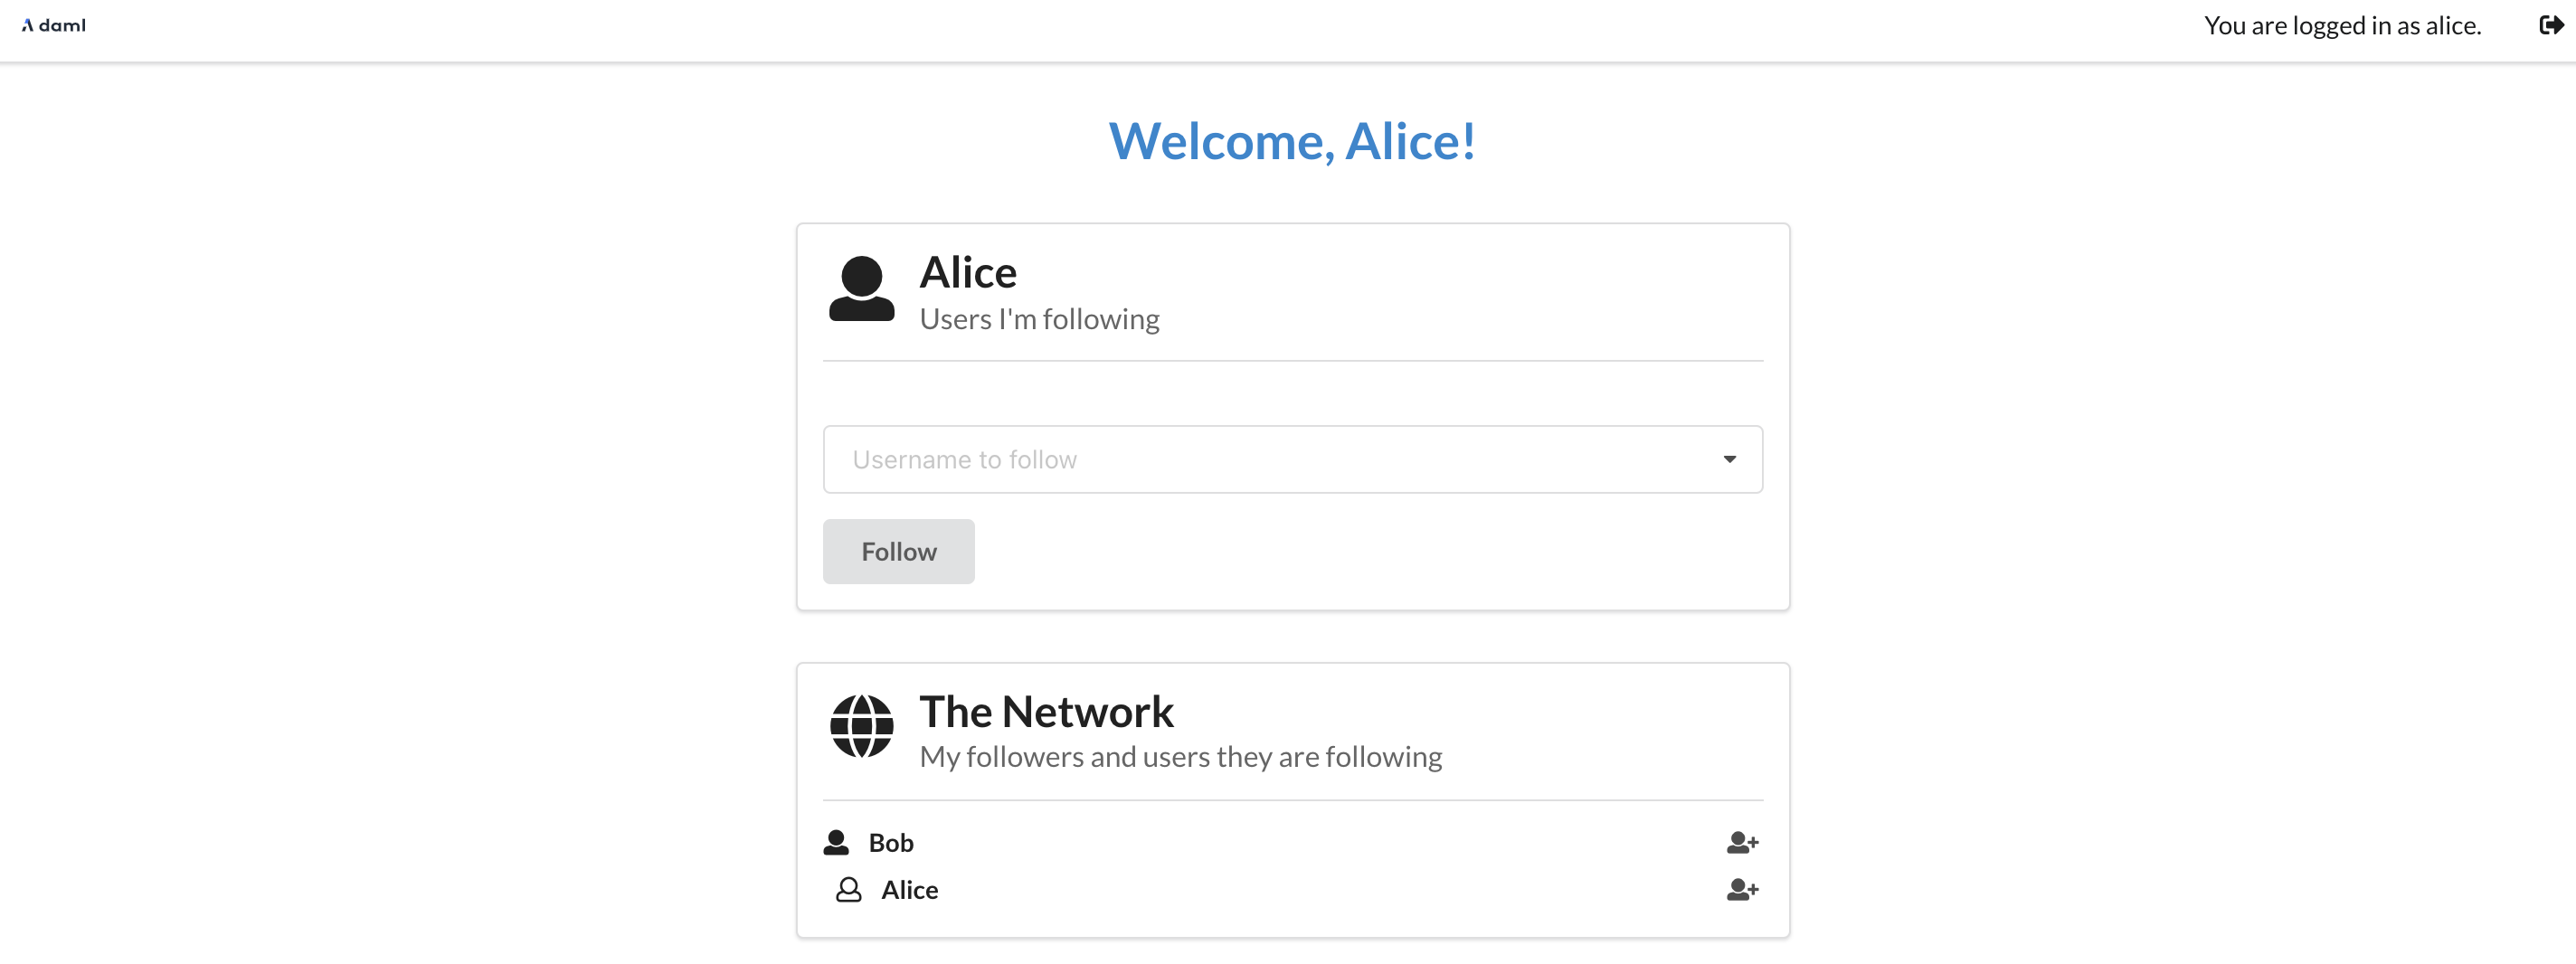
When Alice starts following you, you can see her in your network as well. Switch to the window where you are logged in as yourself - the network should update automatically.
Play around more with the app at your leisure: create new users and start following more users. Observe when a user becomes visible to others - this will be important to understanding Daml’s privacy model later. When you’re ready, let’s move on to the architecture of our app.
Tip
Congratulations on completing the first part of the Getting Started Guide! Join our forum and share a screenshot of your accomplishment to get your first of 3 getting started badges! You can get the next one by implementing your first feature.