Build and Test the App/Backend
Build the backend with Gradle from the root directory:
./gradlew :app:backend:assembleIgnore these substeps if Gradle builds successfully.
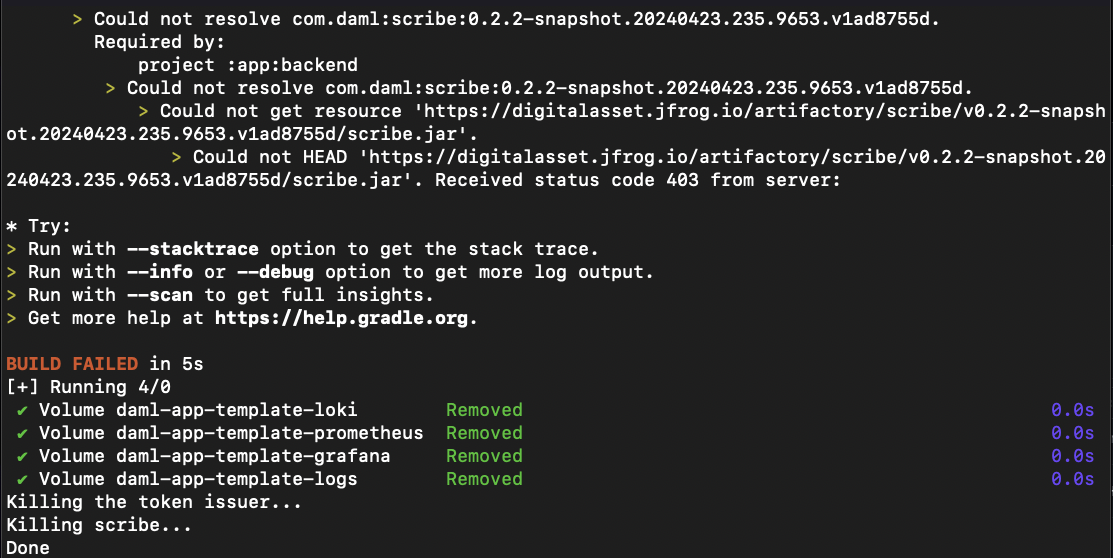
If you have a Daml enterprise license and the output returns errors such as:
Received status code 403 from server.
Forbidden for user.
Could not resolve all files for configuration.
Email support@digitalasset.com with your Artifactory username and the error message.
To illustrate, the error message may show:
Could not get resource
'https://digitalasset.jfrog.io/artifactory/scribe/v0.0.2-main.20231003.152.4301.v33c317c/scribe.jar'.
Received status code 403 from server.

You can verify that your Artifactory username and password have been correctly integrated into the app with a credential request command:
curl -u $ARTIFACTORY_USER:$ARTIFACTORY_PASSWORD https://digitalasset.jfrog.io/artifactory/scribe/<<SNAPSHOT>>/scribe.jar
Replace “<<SNAPSHOT>>” with the scribe snapshot version as indicated by the output messages. For example,
https://digitalasset.jfrog.io/artifactory/scribe/v0.2.2-snapshot.20240423.235.9653.v1ad8755d/scribe.jarThe
./gradlew :app:backend:assemblecommand can also be run with the following debugging flags:./gradlew :app:backend:assemble --info ./gradlew :app:backend:assemble --debug ./gradlew :app:backend:assemble --stacktrace
Begin the synchronizer in the backend from the same terminal:
./scripts/start-canton.sh
The command has successfully executed when the Dockerized services have been created and Scribe has started. You should see output similar to:
== Logging into digitalasset-docker.jfrog.io
…
Login Succeeded
== Starting dockerized services
[+] Building 0.0s (0/0)                                                                                                                                                                    docker:desktop-linux
[+] Running 15/15
 ✔ Network daml-app-template_default              Created                                                                                                                                                  0.0s
 ✔ Volume "daml-app-template-prometheus"          Created                                                                                                                                                  0.0s
 ✔ Volume "daml-app-template-logs"                Created                                                                                                                                                  0.0s
…
 ✔ Container json-api-provider                    Healthy                                                                                                                                                  0.0s
 ✔ Container json-api-user                        Healthy                                                                                                                                                  0.0s
== Starting token issuer...
== Started token issuer
Waiting for 1 second: daml-app-template-0.0.1 has not yet been uploaded to Canton..
Waiting for 1 second: daml-app-template-0.0.1 has not yet been uploaded to Canton..
== Starting scribe..
== Started scribe
Open a second terminal.
Run the Gradle tests from the project’s root directory:
./gradlew :app:backend:testNote
This command runs a number of backend tests including integration, initialization, and health probe tests to ensure the integrity of the synchronizer. (If you are working in a Windows environment, you must begin wsl in each new terminal.)
The tests are successful if the command returns
BUILD SUCCESSFULImportant
If the Gradle tests fail:
- Ensure that the start-canton.sh was initiated.
- Open the Docker dashboard and “Clean / Purge data” from the troubleshooting menu and repeat from step 4.
Check the backend for linting errors:
./gradlew :app:backend:spotlessCheckEnsure the code is properly formatted:
./gradlew :app:backend:spotlessApplyStart the Daml backend for local development:
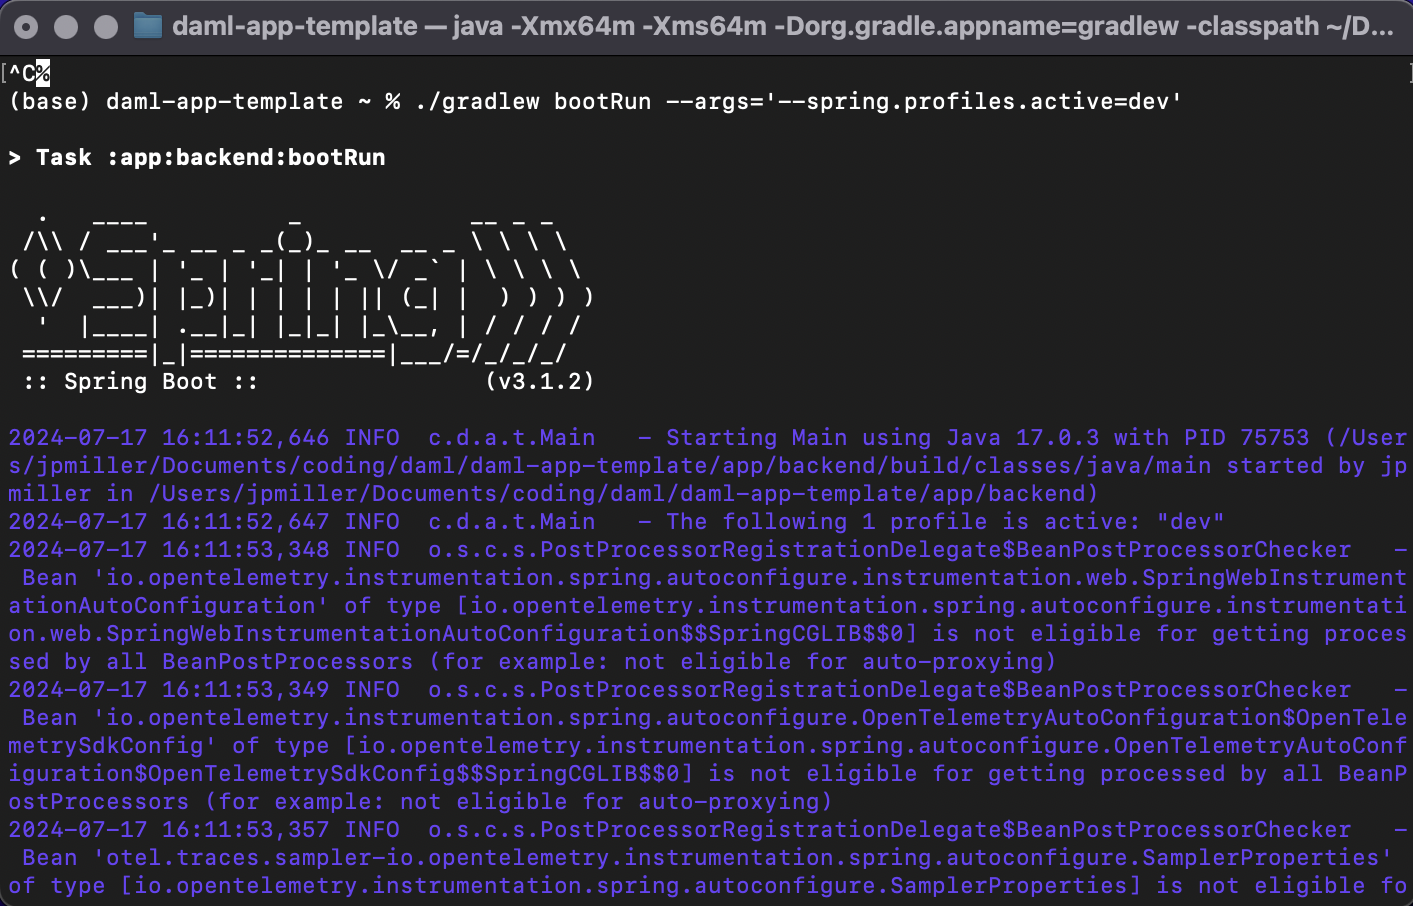
./gradlew bootRun --args='--spring.profiles.active=dev'
Note
bootRun operates continuously in the background.

Important
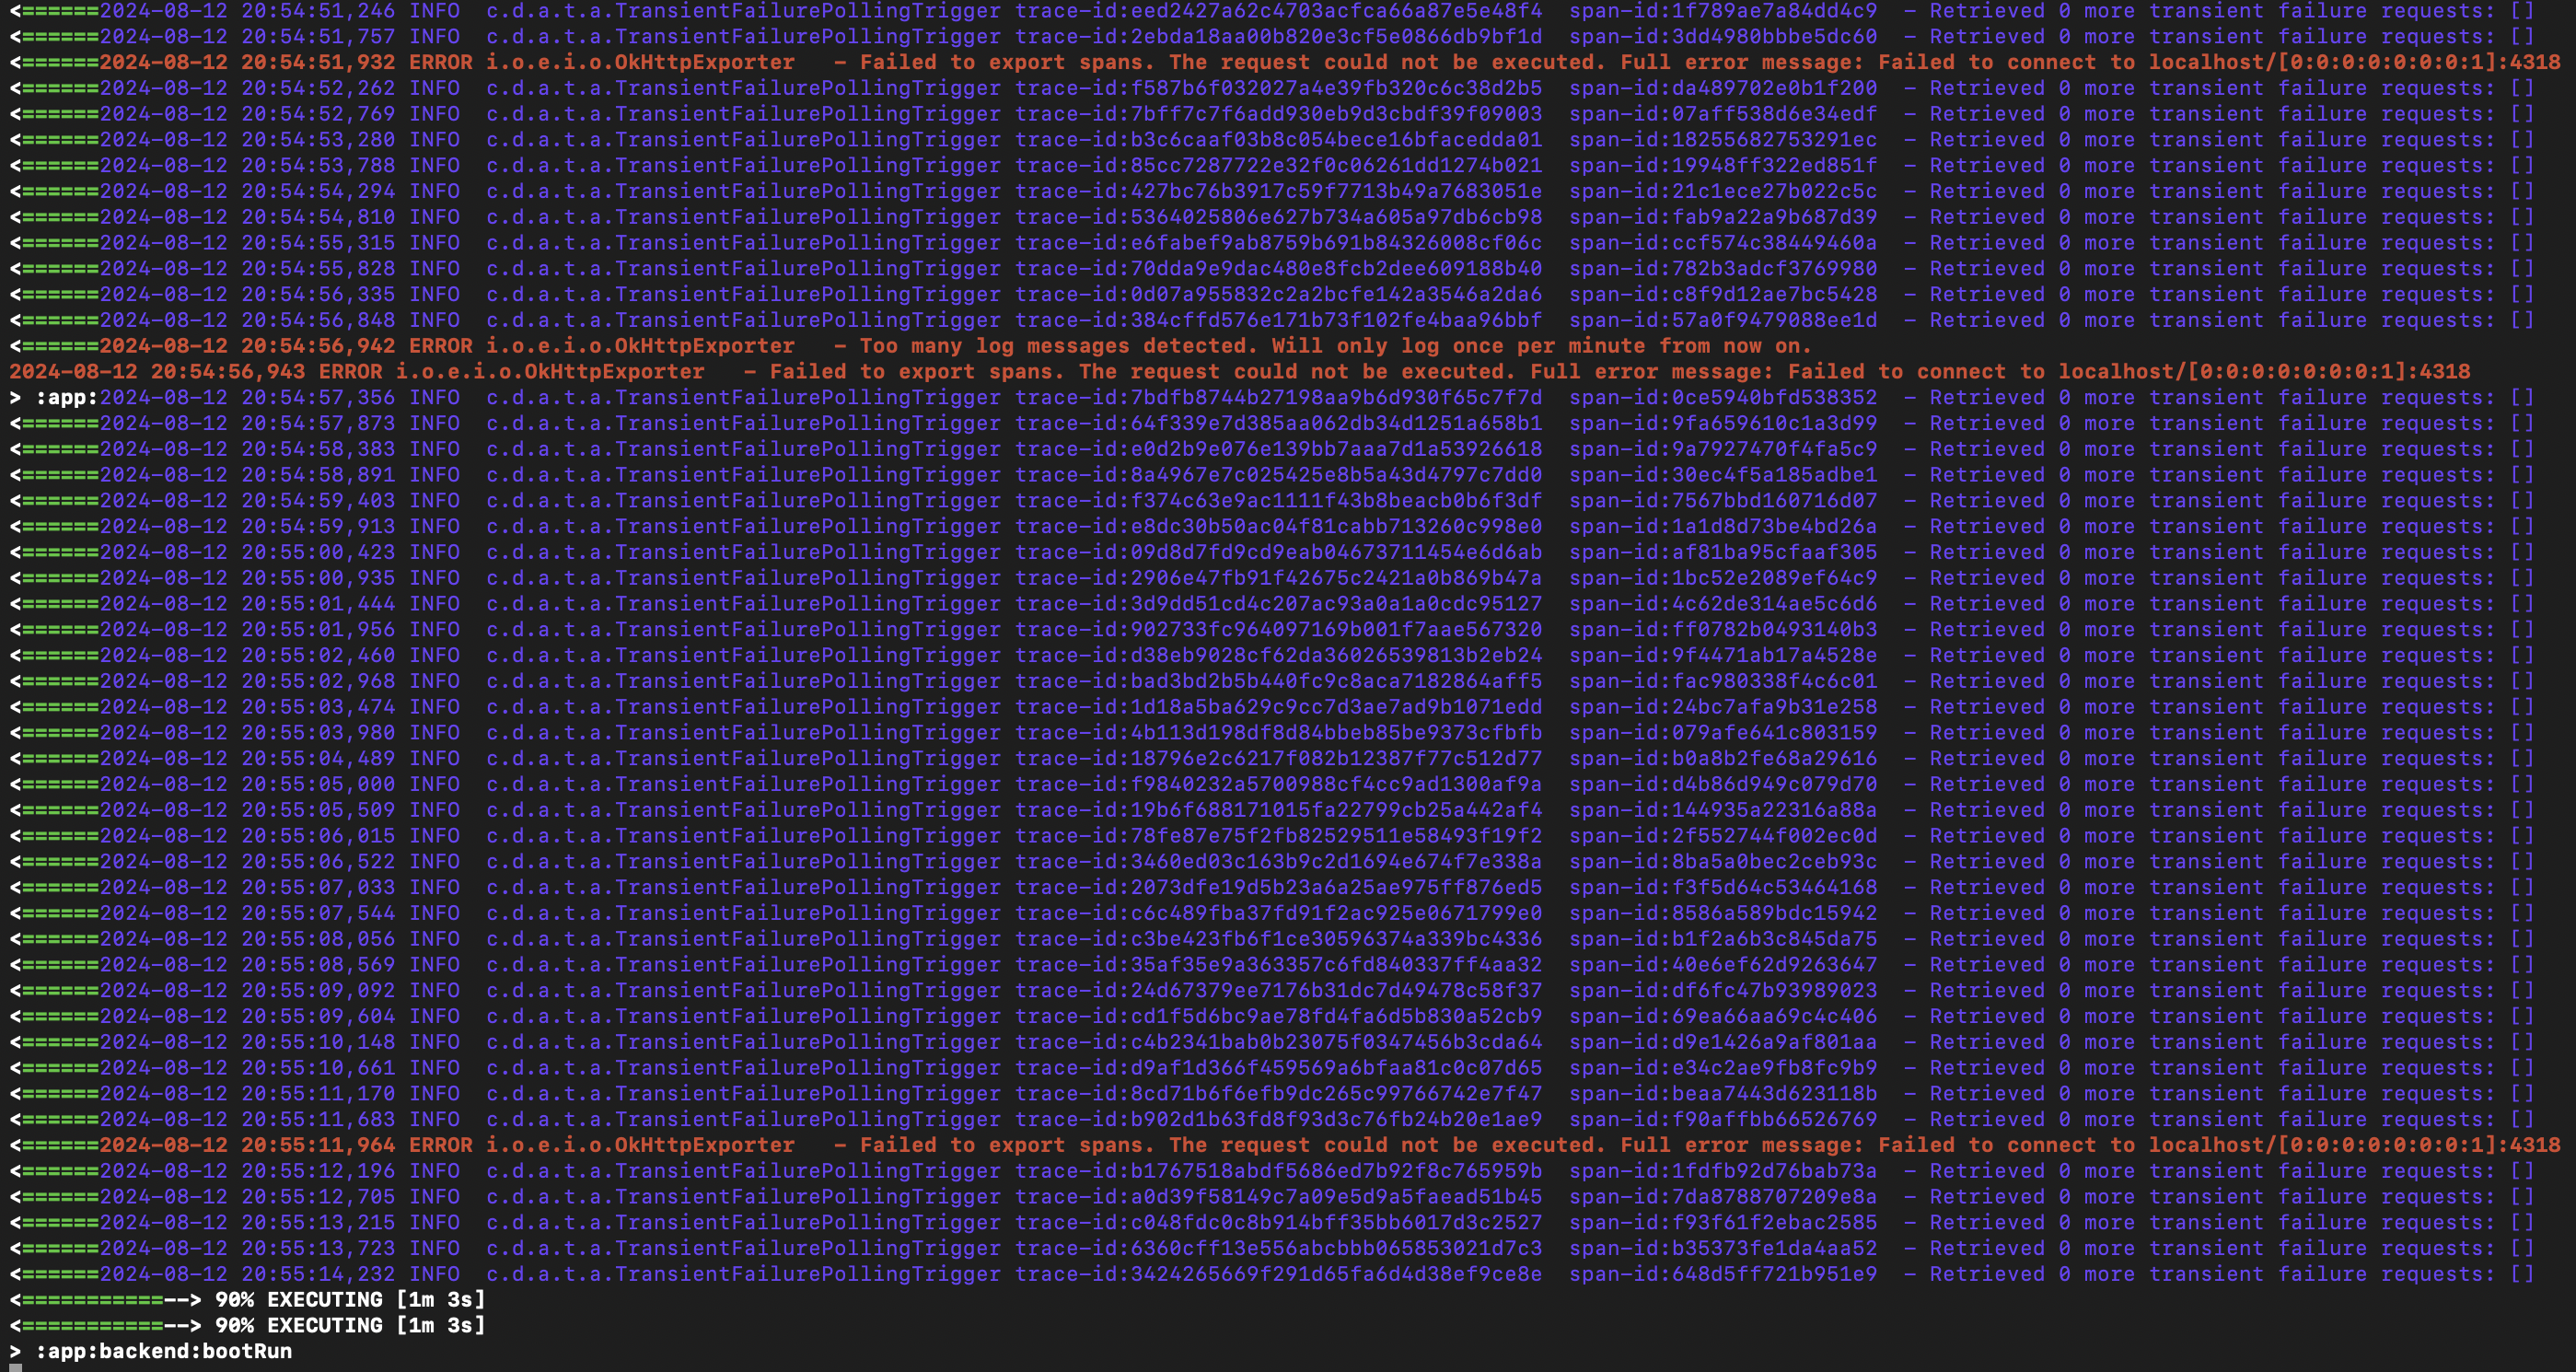
While bootRun operates, you might notice occasional messages stating,
Failed to export spans. The request could not be executed.Full error message: Failed to connect to localhost.These failures are benign and can be safely ignored.

The backend is now operational! You are ready to build the frontend!

