Build and Test the Frontend
Open a third terminal. Run the following command from the project’s root directory to build the frontend:
./gradlew :app:frontend:assembleRun the tests with a mock backend:
./gradlew :app:frontend:testRun the linter to check for code quality issues:
./gradlew :app:frontend:spotlessCheckIf linter issues exist, try to fix them with the following command:
./gradlew :app:frontend:spotlessApplyNavigate to
app/frontend:cd app/frontend
Start the frontend development server provided through the node package manager to see the app in action:
npm run dev
This command creates a session on
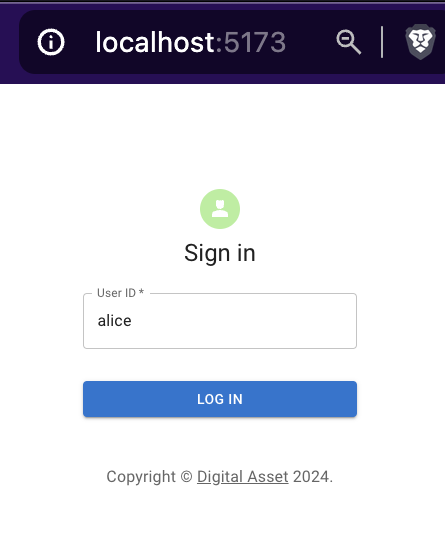
localhost:5173which connects the frontend to the user’s party. You can now log in locally asalice.
Navigate to
localhost:5173in an incognito browser window and log in asalice. The username must be all lowercase.
Create a fourth terminal instance. Run the following command from the
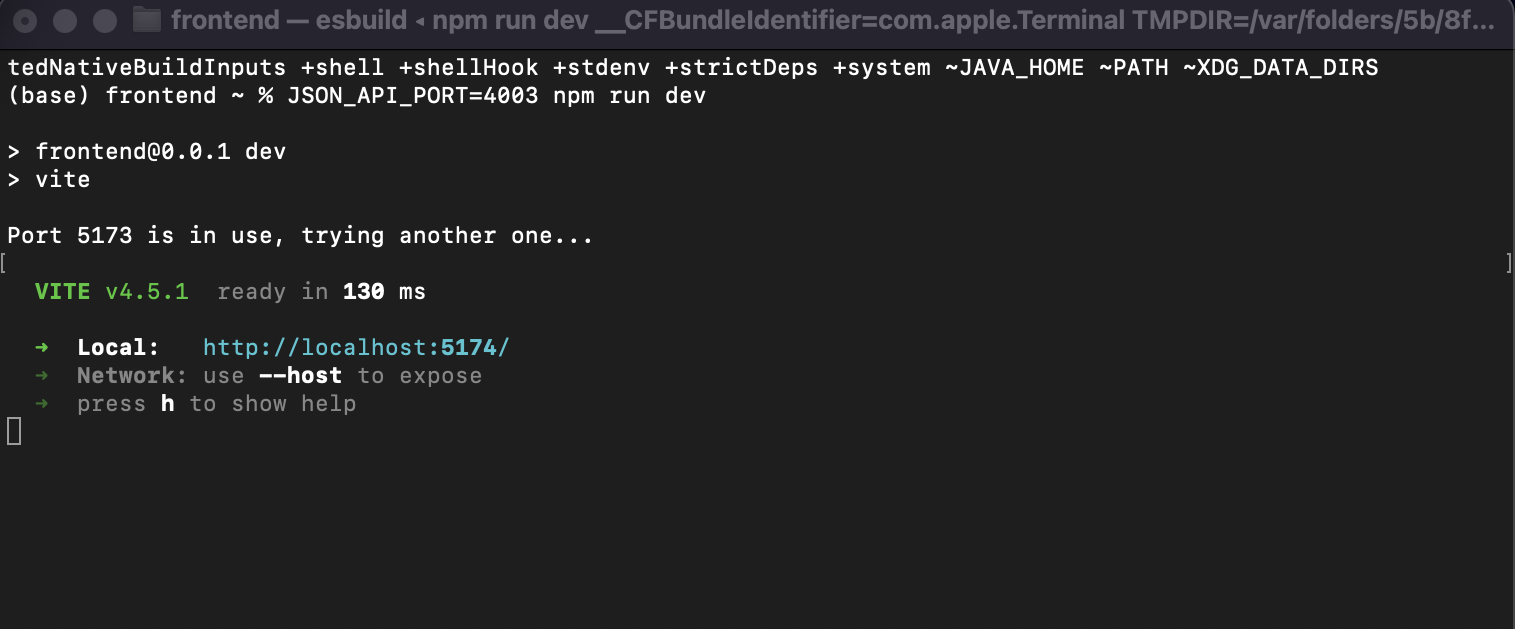
frontenddirectory to connect to theprovider’s party:JSON_API_PORT=4003 npm run dev

Note
The
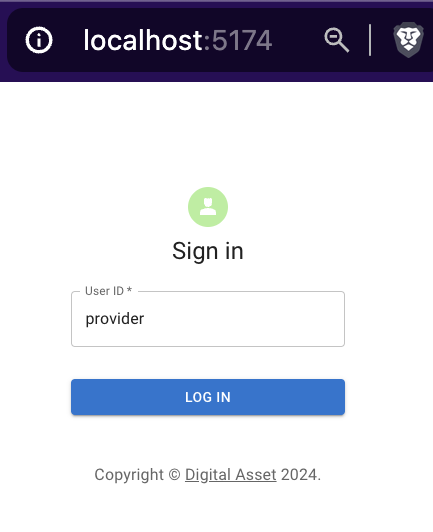
provider’s session is most likely hosted onlocalhost:5174Log in as
providerusing all lowercase.
Important
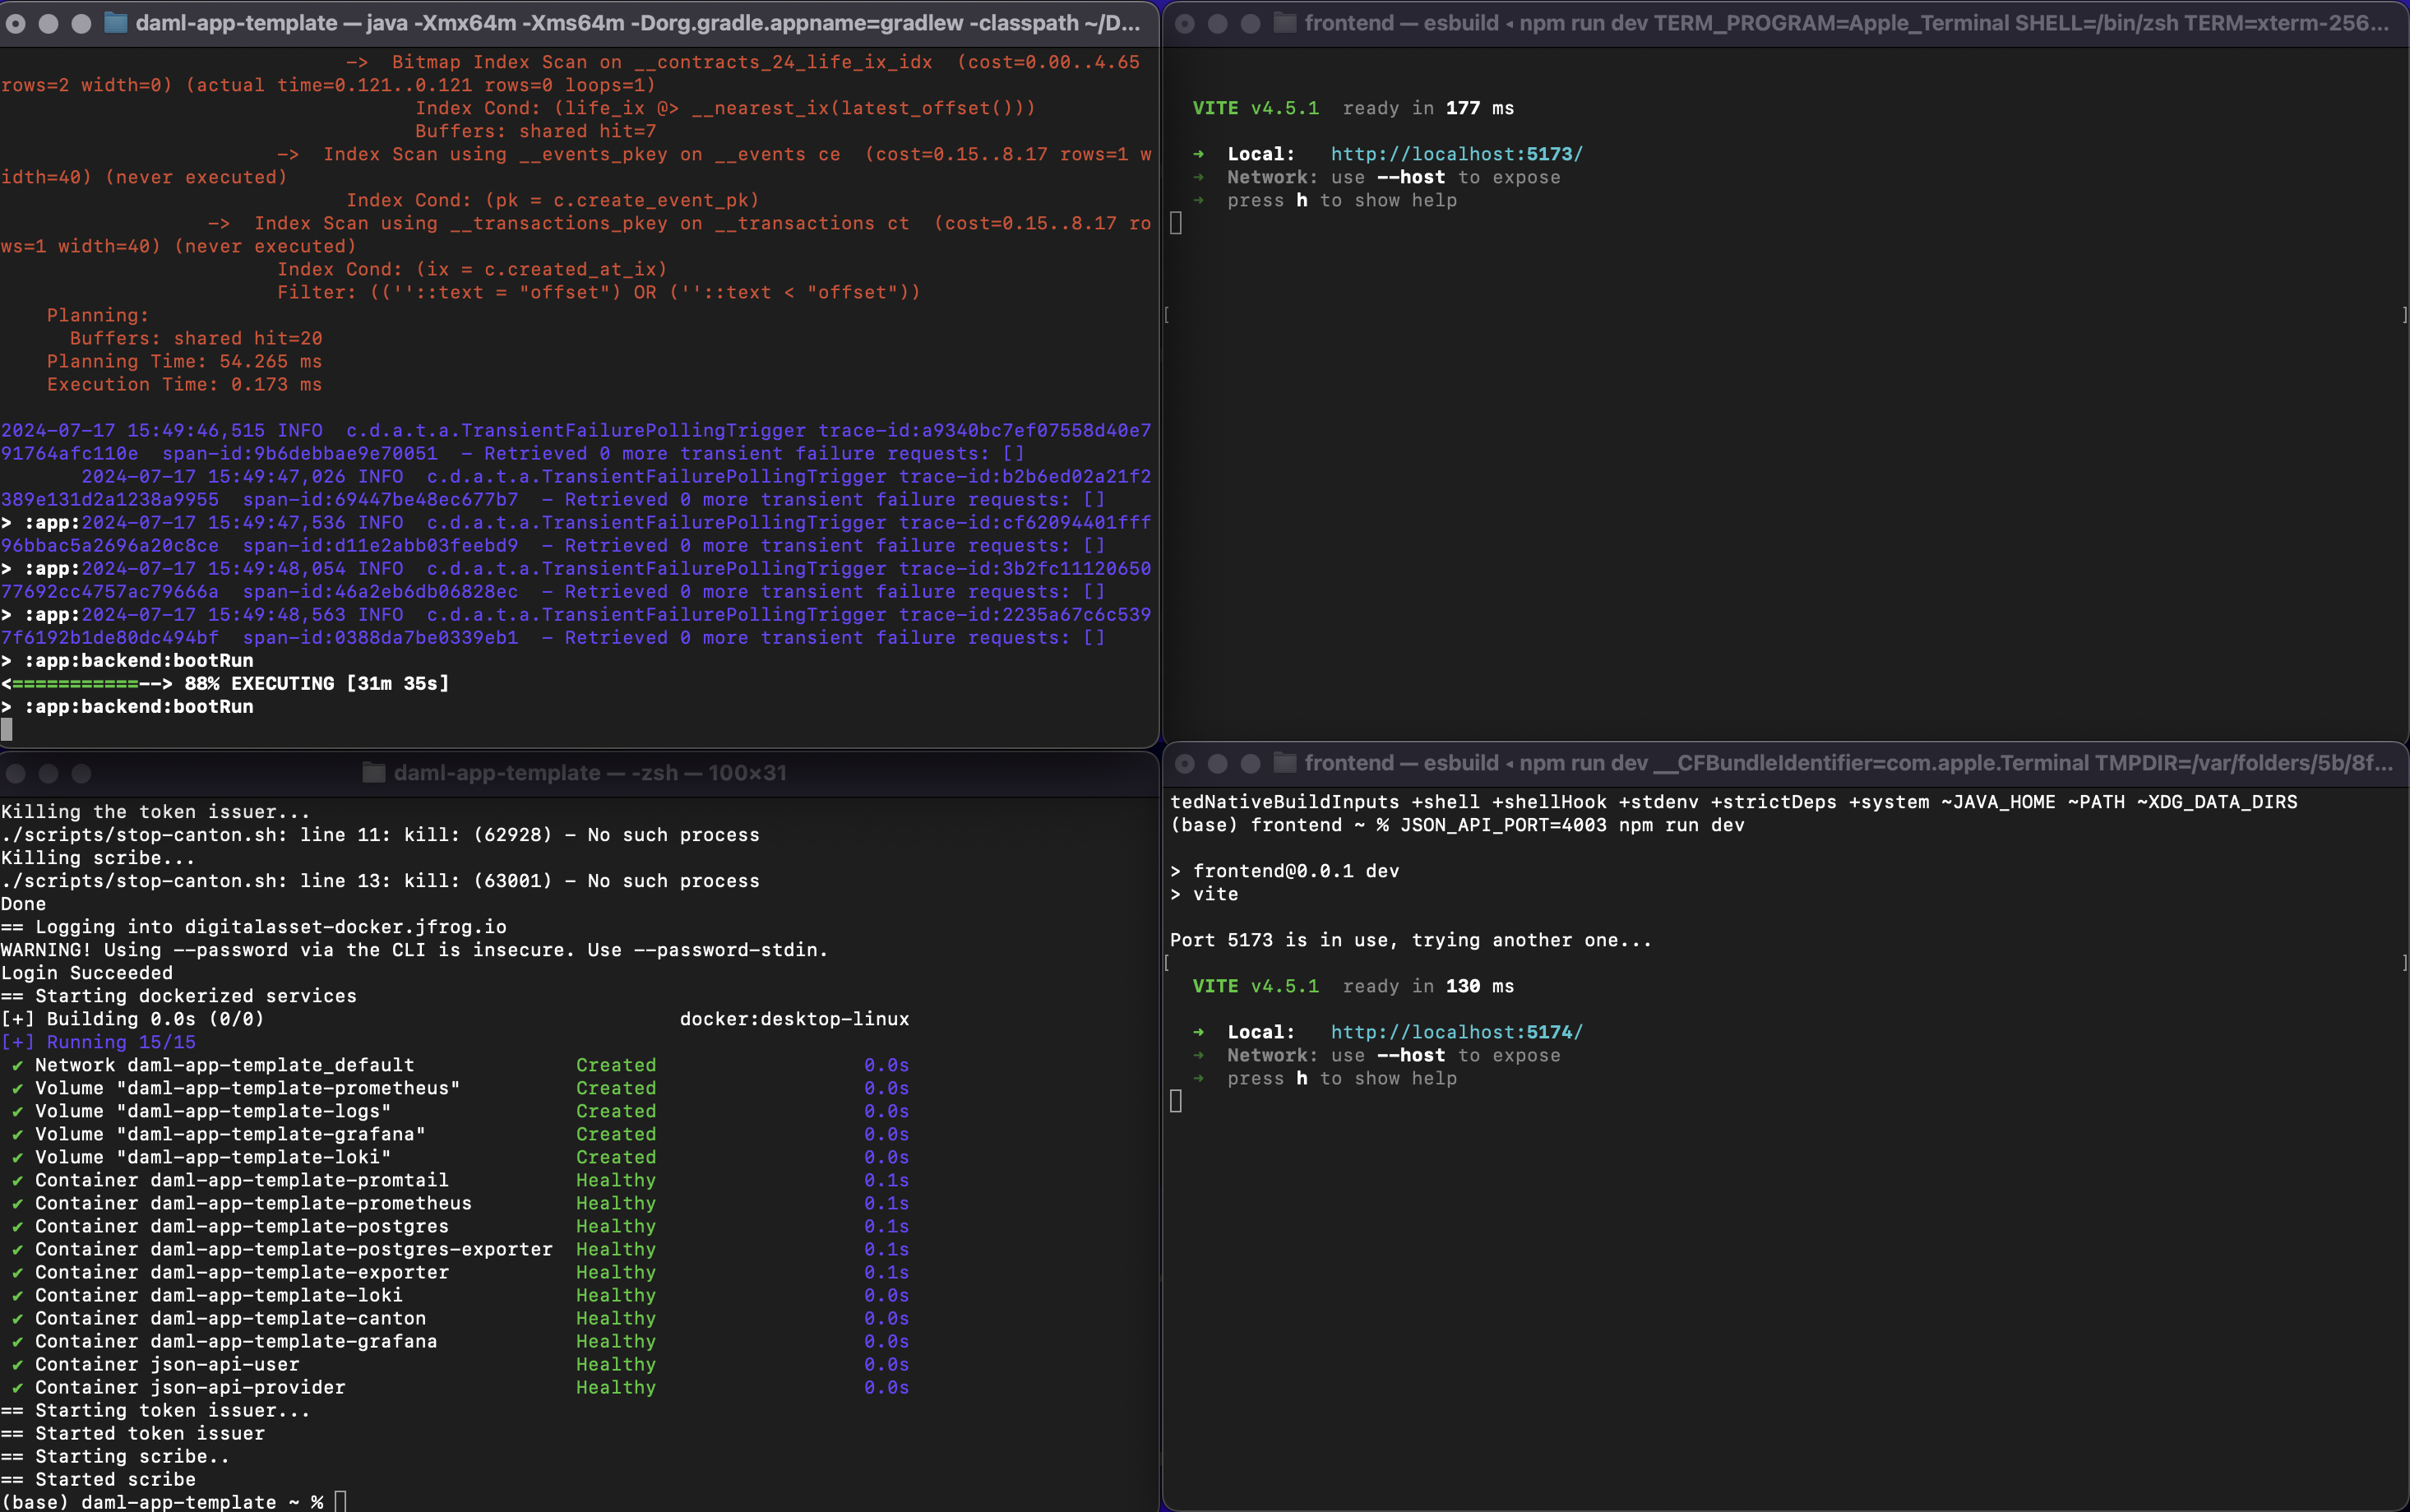
You now have a total of four terminals. You can organize them in four windows or use the terminal’s tab feature and cycle through each tab as needed.


