
Visualize: Daml Navigator (Deprecated)
Warning
Since Daml 2.9.0, daml navigator is deprecated. It will be removed in Daml 3.0.
The Navigator is a front-end that you can use to connect to any Daml Ledger and inspect and modify the ledger. You can use it during Daml development to explore the flow and implications of the Daml models.
The first sections of this guide cover use of the Navigator with the SDK. Refer to Advanced Usage for information on using Navigator outside the context of the SDK.
Logging In
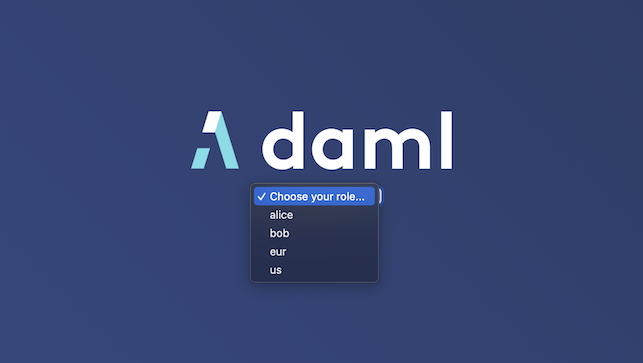
By default, Navigator shows a drop-down list with the users that have been
created via the user management service. During
development, it is common to create these users in a
Daml script: that you specify in the
init-script section of your daml.yaml file so it is executed
on daml start. Most of the templates shipped with the Daml SDK
already include such a setup script. Only users that have a primary
party set will be displayed.
After logging in, you will interact with the ledger as the primary party of that user, meaning that you can see contracts visible to that party and submit commands (e.g. create a contract) as that party.
The party you are logged in as is not displayed directly. However,
Navigator provides autocompletion based on the party id which starts
with the party id hint so a good option is to set the party id hint to
the user id when you allocate the party in your setup script. You can
see an example of that in the skeleton template:
  alice <- allocatePartyWithHint "Alice" (PartyIdHint "Alice")
  bob <- allocatePartyWithHint "Bob" (PartyIdHint "Bob")
  aliceId <- validateUserId "alice"
  bobId <- validateUserId "bob"
  createUser (User aliceId (Some alice)) [CanActAs alice]
  createUser (User bobId (Some bob)) [CanActAs bob]
The first step in using Navigator is to use the dropdown list on the Navigator home screen to select from the available users.
The main Navigator screen will be displayed, with contracts that the primary party of this user is entitled to view in the main pane and the option to switch from contracts to templates in the pane at the left. Other options allow you to filter the display, include or exclude archived contracts, and exercise choices as described below.
To change the active user:
- Click the name of the current user in the top left corner of the screen.
- On the home screen, select a different user.

You can act as different users in different browser windows. Use Chrome’s profile feature https://support.google.com/chrome/answer/2364824 and sign in as a different user for each Chrome profile.
Logging in as a Party
Instead of logging in by specifying a user, you can also log in by specifying a party directly. This is useful if you do not want to or cannot (because your ledger does not support user management) create users.
To do so, you can start Navigator with a flag to disable support for user management:
daml navigator --feature-user-management=false
To use this via daml start, you can specify it in your daml.yaml file:
navigator-options:
  - --feature-user-management=false
Instead of displaying a list of users on login, Navigator will display a list of parties where each party is identified by its display name.
Alternatively you can specify a fixed list of parties in your
daml.yaml file. This will automatically disable user management
and display those parties on log in. Note that you still need
to allocate those parties before you can log in as them.
parties:
  - Alice::12201d00faa0968d7ab81e63ad6ad4ee0d31b08a3581b1d8596e68a1356f27519ccb
  - Bob::12201d00faa0968d7ab81e63ad6ad4ee0d31b08a3581b1d8596e68a1356f27519ccb
Viewing Templates or Contracts
Daml contract templates are models that contain the agreement statement, all the applicable parameters, and the choices that can be made in acting on that data. They specify acceptable input and the resulting output. A contract template contains placeholders rather than actual names, amounts, dates, and so on. In a contract, the placeholders have been replaced with actual data.
The Navigator allows you to list templates or contracts, view contracts based on a template, and view template and contract details.
Listing templates
To see what contract templates are available on the ledger you are connected to, choose Templates in the left pane of the main Navigator screen.
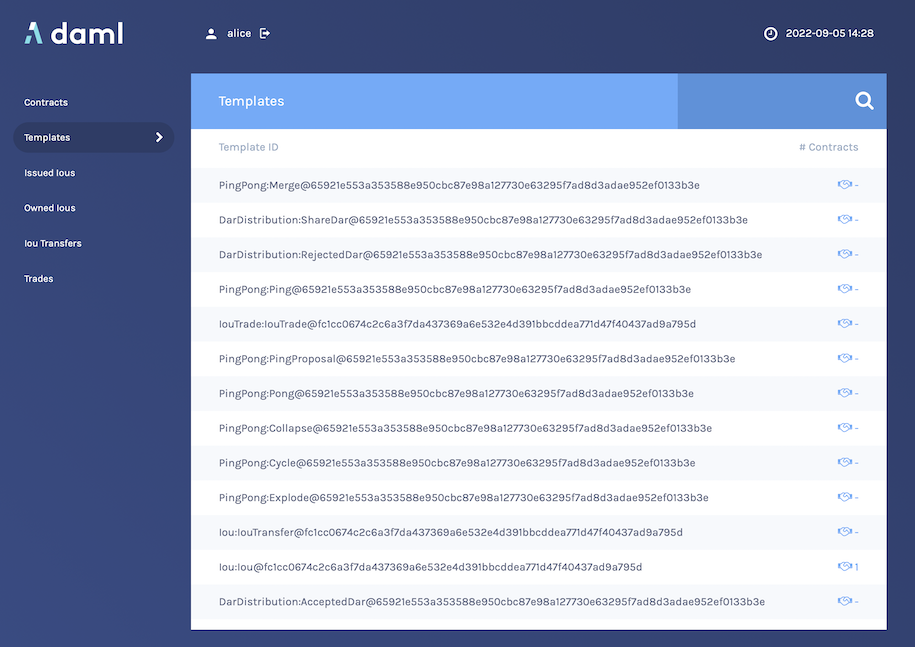
Use the Filter field at the top right to select template IDs that include the text you enter.
Listing contracts
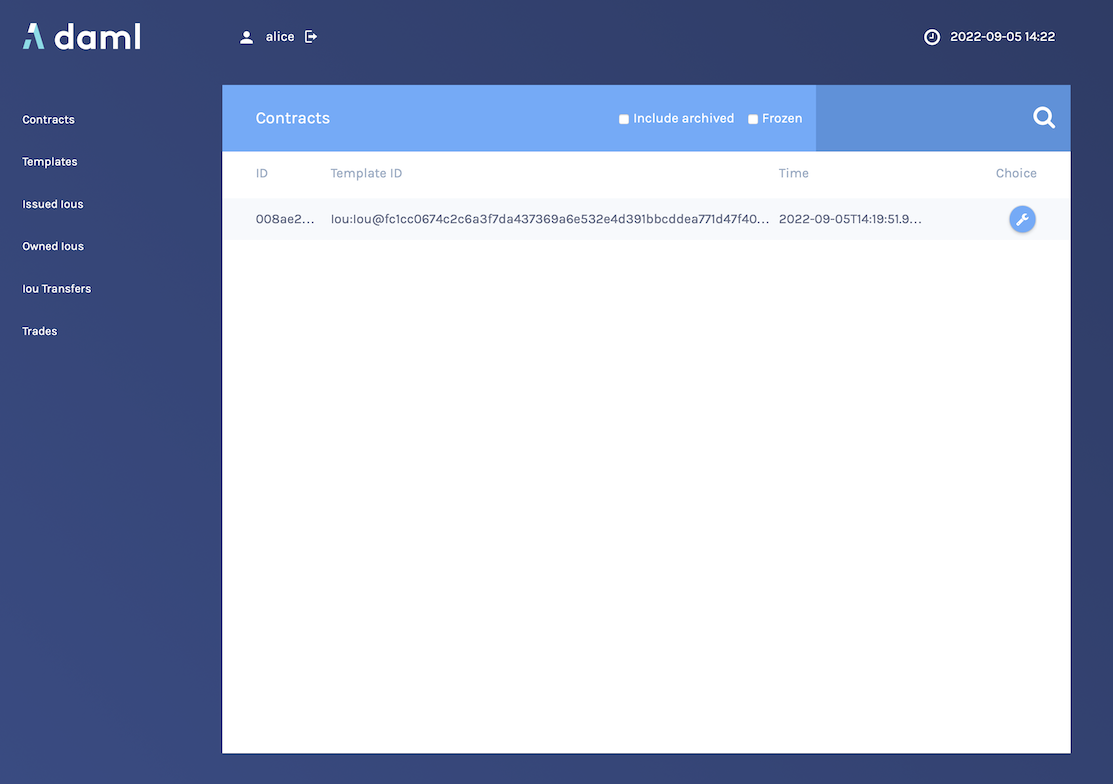
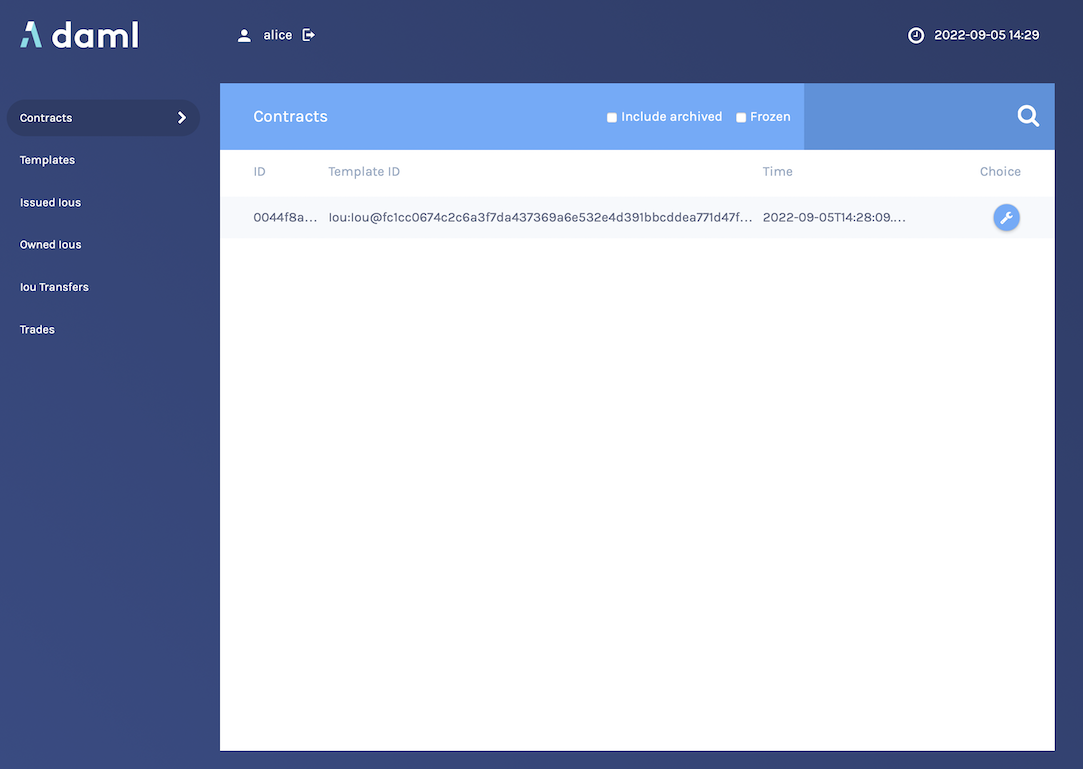
To view a list of available contracts, choose Contracts in the left pane.
In the Contracts list:
- Changes to the ledger are automatically reflected in the list of contracts. To avoid the automatic updates, select the Frozen checkbox. Contracts will still be marked as archived, but the contracts list will not change.
- Filter the displayed contracts by entering text in the Filter field at the top right.
- Use the Include Archived checkbox at the top to include or exclude archived contracts.
Viewing contracts based on a template
You can also view the list of contracts that are based on a particular template.
- You will see icons to the right of template IDs in the template list with a number indicating how many contracts are based on this template.
- Click the number to display a list of contracts based on that template.
Number of Contracts
List of Contracts

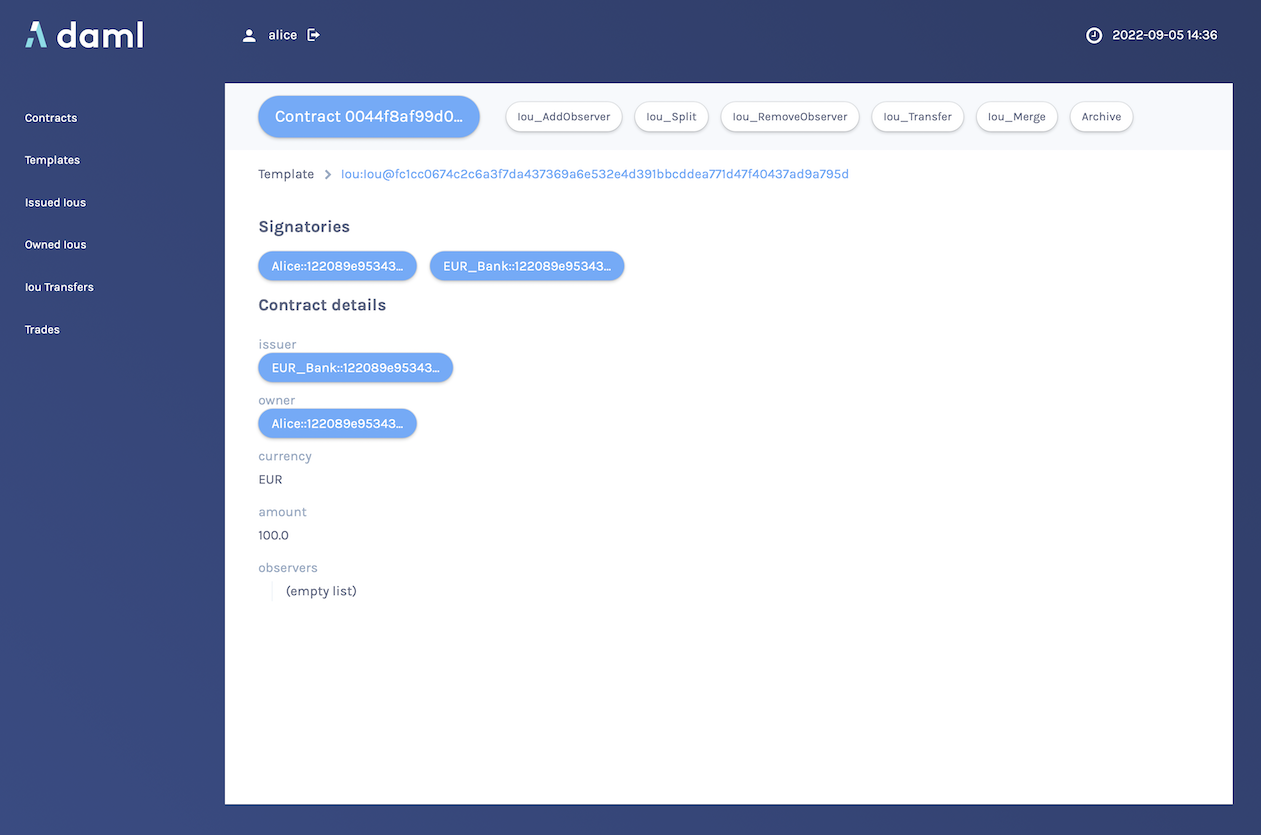
Viewing template and contract details
To view template or contract details, click on a template or contract in the list. The template or contracts detail page is displayed.
Template Details
Contract Details
Using Navigator
Creating contracts
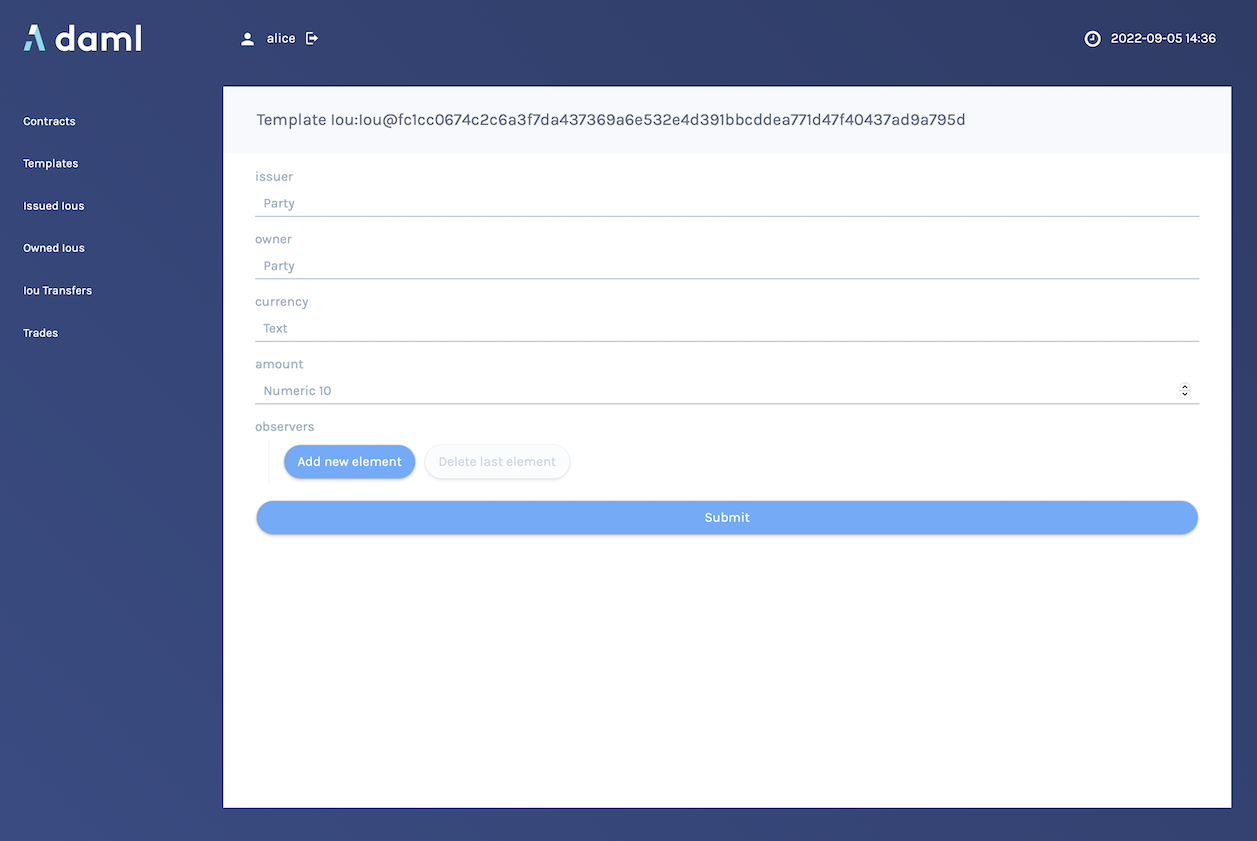
Contracts in a ledger are created automatically when you exercise choices. In some cases, you create a contract directly from a template. This feature can be particularly useful for testing and experimenting during development.
To create a contract based on a template:
- Navigate to the template detail page as described above.
- Complete the values in the form
- Choose the Submit button.
When the command has been committed to the ledger, the loading indicator in the navbar at the top will display a tick mark.
While loading…

When committed to the ledger…

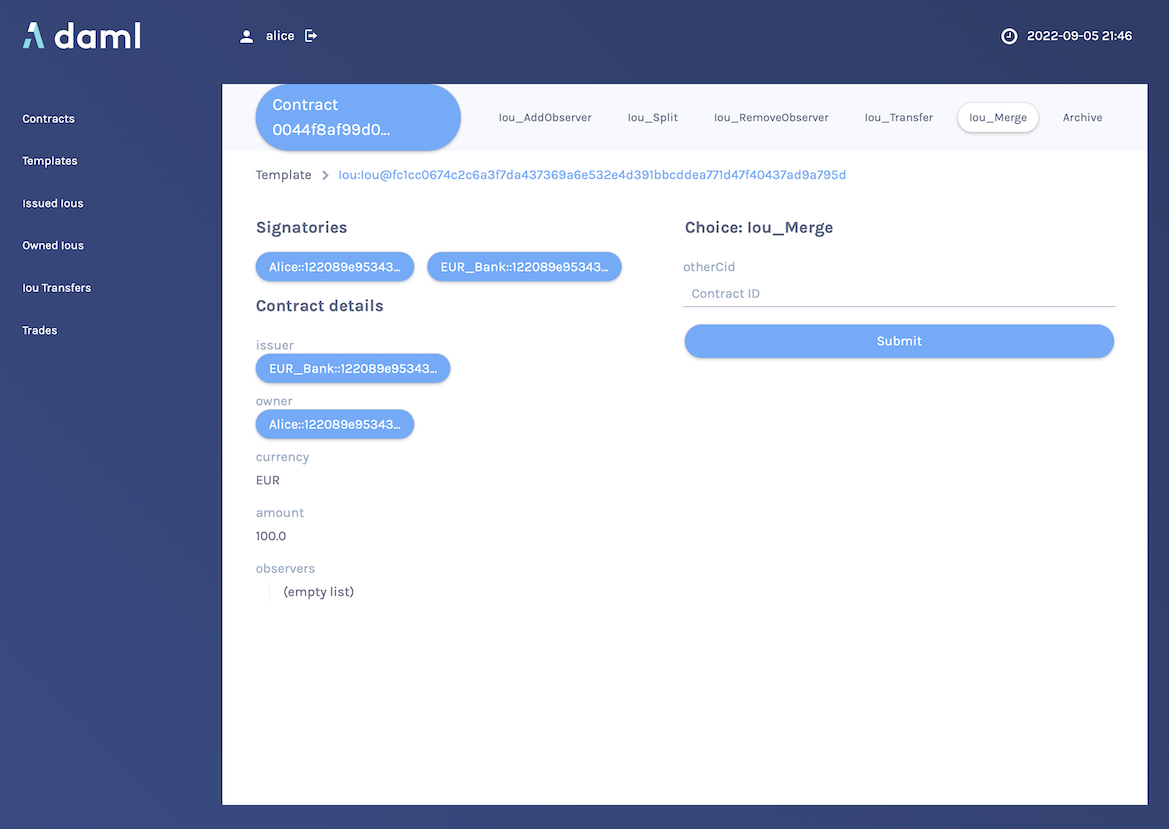
Exercising choices
To exercise a choice:
- Navigate to the contract details page (see above).
- Click the choice you want to exercise in the choice list.
- Complete the form.
- Choose the Submit button.
Or
- Navigate to the choice form by clicking the wrench icon in a contract list.
- Select a choice.
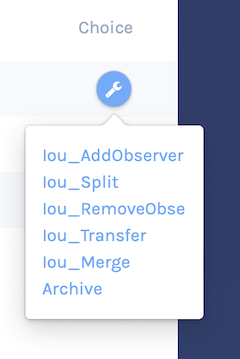
You will see the loading and confirmation indicators, as pictured above in Creating Contracts.
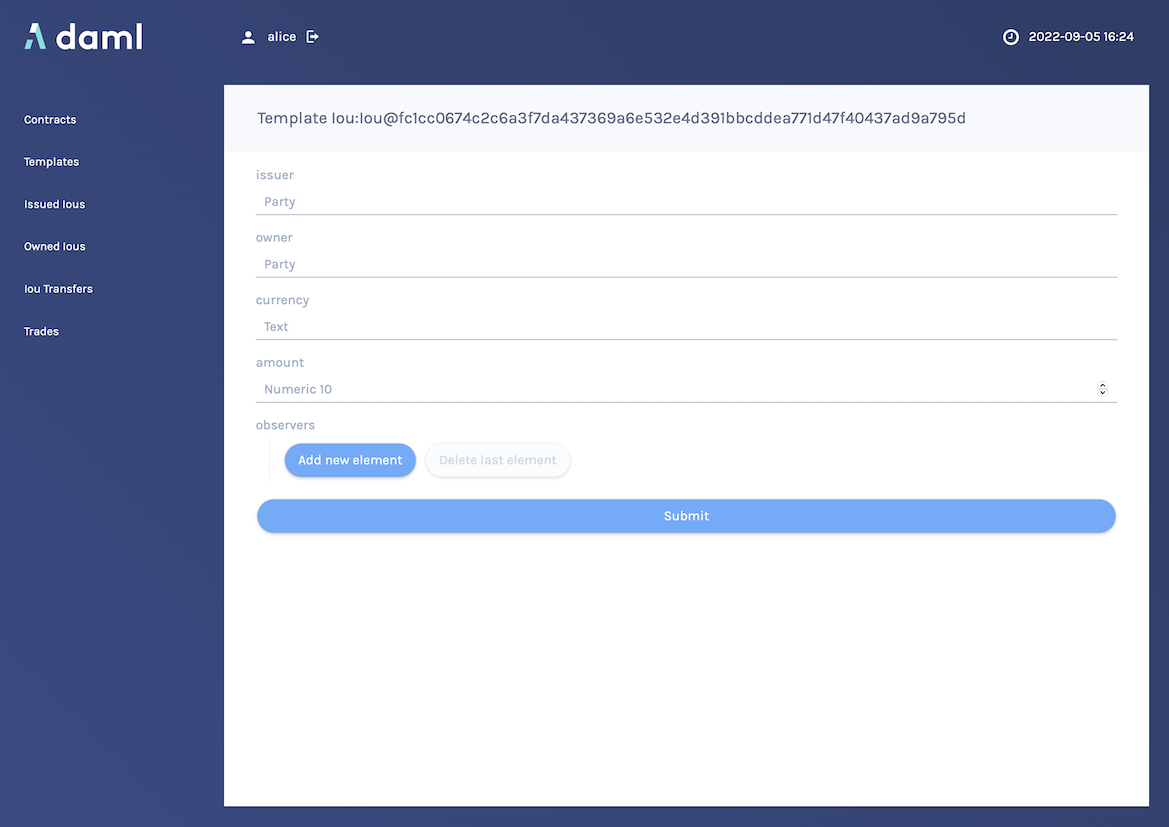
Advancing time
It is possible to advance time against the Daml Sandbox. (This is not true of all Daml Ledgers.) This advance-time functionality can be useful when testing, for example, when entering a trade on one date and settling it on a later date.
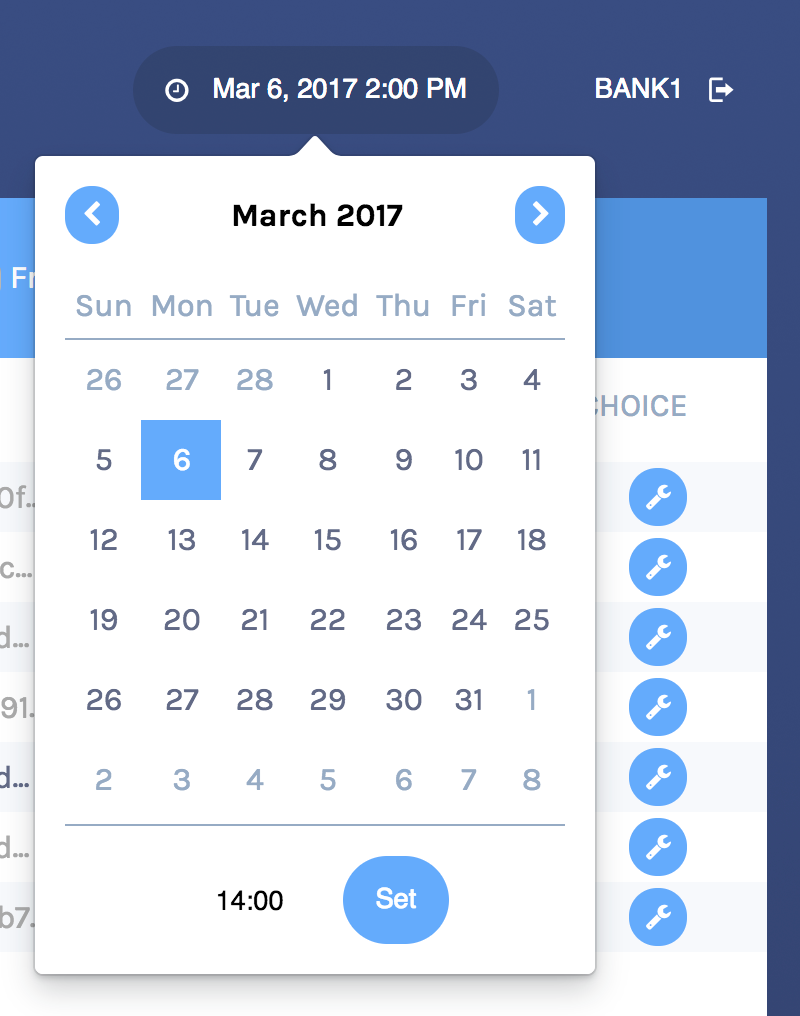
To advance time:
- Click on the ledger time indicator in the navbar at the top of the screen.
- Select a new date / time.
- Choose the Set button.
Authorizing Navigator
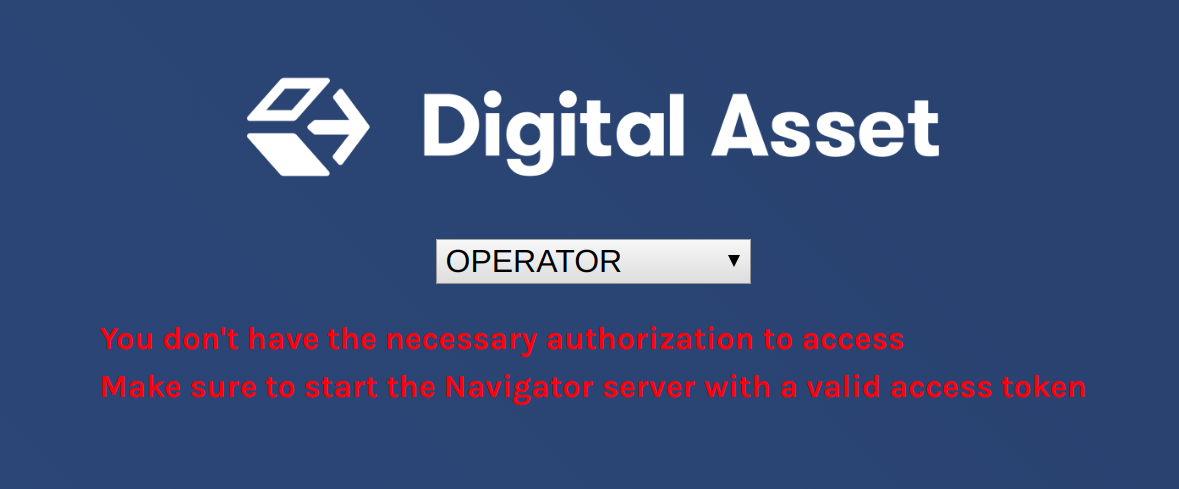
If you are running Navigator against a Ledger API server that verifies authorization, you must provide the access token when you start the Navigator server.
The access token retrieval depends on the specific Daml setup you are working with: please refer to the ledger operator to learn how.
Once you have retrieved your access token, you can provide it to Navigator by storing it in a file and provide the path to it using the --access-token-file command line option.
If the access token cannot be retrieved, is missing or wrong, you’ll be unable to move past the Navigator’s frontend login screen and see the following:
Advanced Usage
Customizable table views
Customizable table views is an advanced rapid-prototyping feature, intended for Daml developers who wish to customize the Navigator UI without developing a custom application.
To use customized table views:
Create a file
frontend-config.jsin your project root folder (or the folder from which you run Navigator) with the content below:import { DamlLfValue } from '@da/ui-core'; export const version = { schema: 'navigator-config', major: 2, minor: 0, }; export const customViews = (userId, party, role) => ({ customview1: { type: "table-view", title: "Filtered contracts", source: { type: "contracts", filter: [ { field: "id", value: "1", } ], search: "", sort: [ { field: "id", direction: "ASCENDING" } ] }, columns: [ { key: "id", title: "Contract ID", createCell: ({rowData}) => ({ type: "text", value: rowData.id }), sortable: true, width: 80, weight: 0, alignment: "left" }, { key: "template.id", title: "Template ID", createCell: ({rowData}) => ({ type: "text", value: rowData.template.id }), sortable: true, width: 200, weight: 3, alignment: "left" } ] } })
Reload your Navigator browser tab. You should now see a sidebar item titled “Filtered contracts” that links to a table with contracts filtered and sorted by ID.
To debug config file errors and learn more about the
config file API, open the Navigator /config page in your browser
(e.g., http://localhost:7500/config).